Upgrading to a bigger SD card in a Raspberry Pi (without losing data)
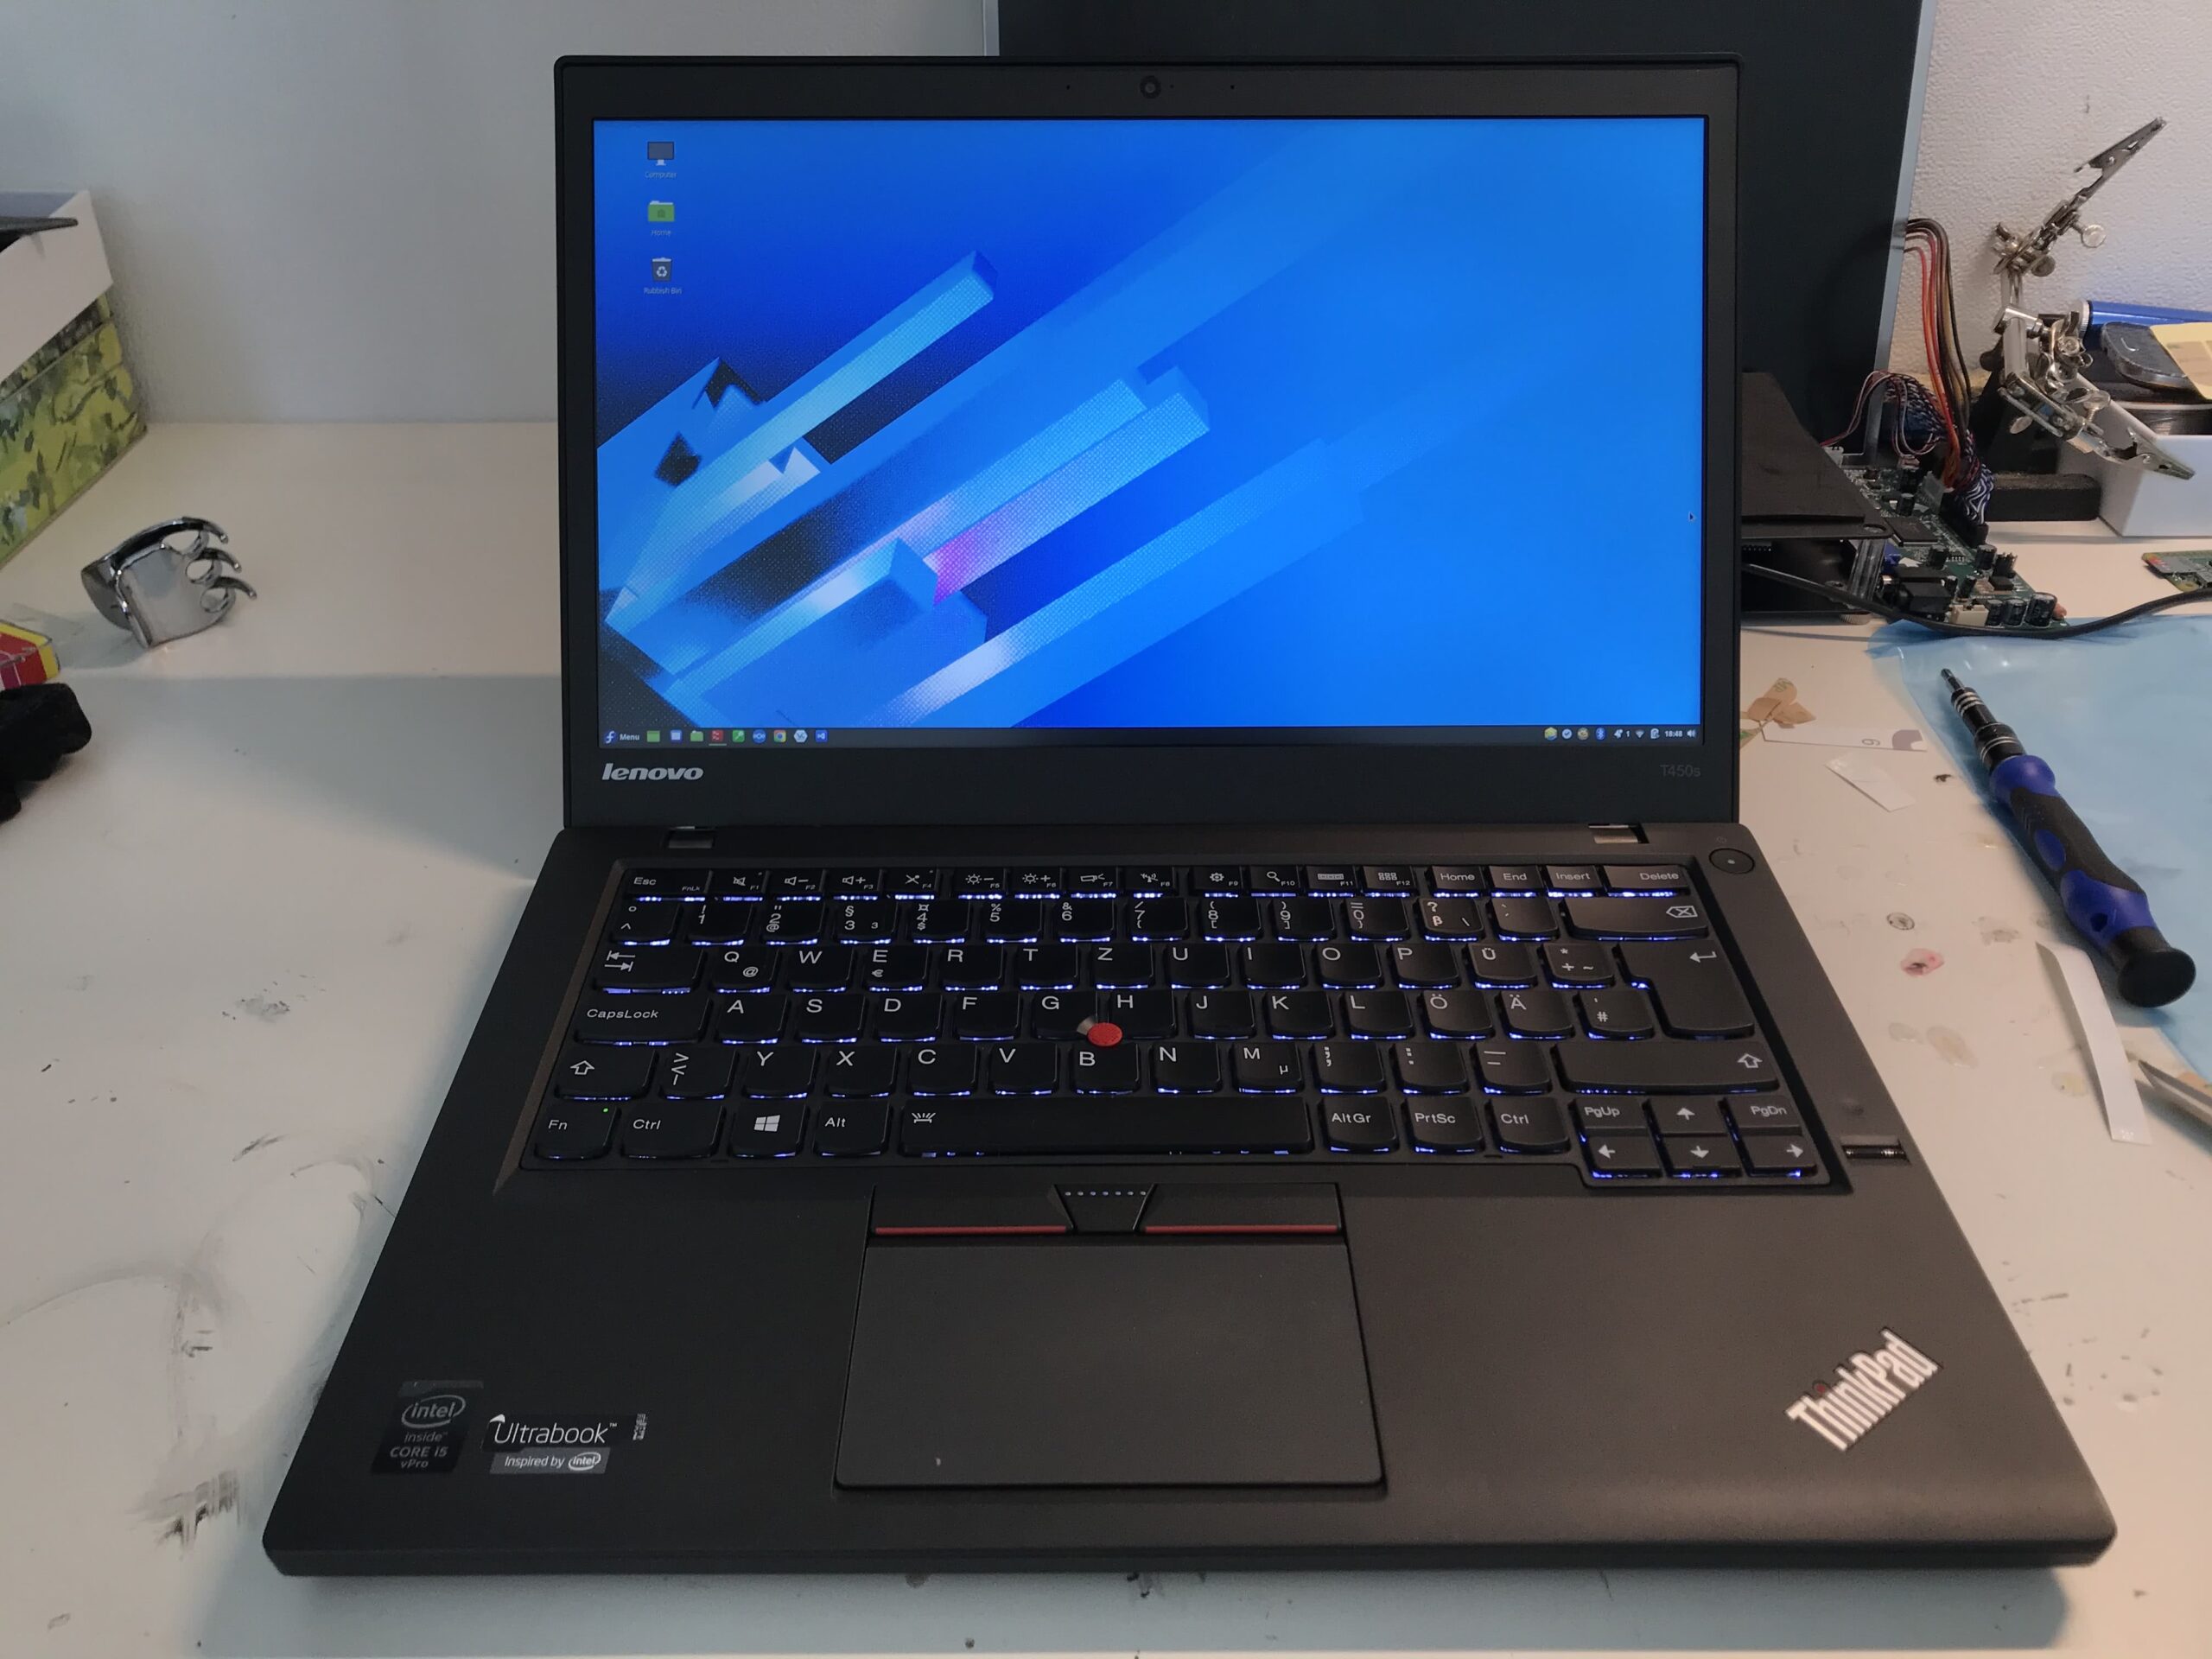
I have been using a Raspberry Pi for some time as a server which provides several services (Backups, Power consumption monitoring, CUPS, and so on). Until now I have been using a Pi 3B which I was willing to replace because of missing features such as USB 3.0 and gigabit ethernet.

Pi 3 B 
Pi 4
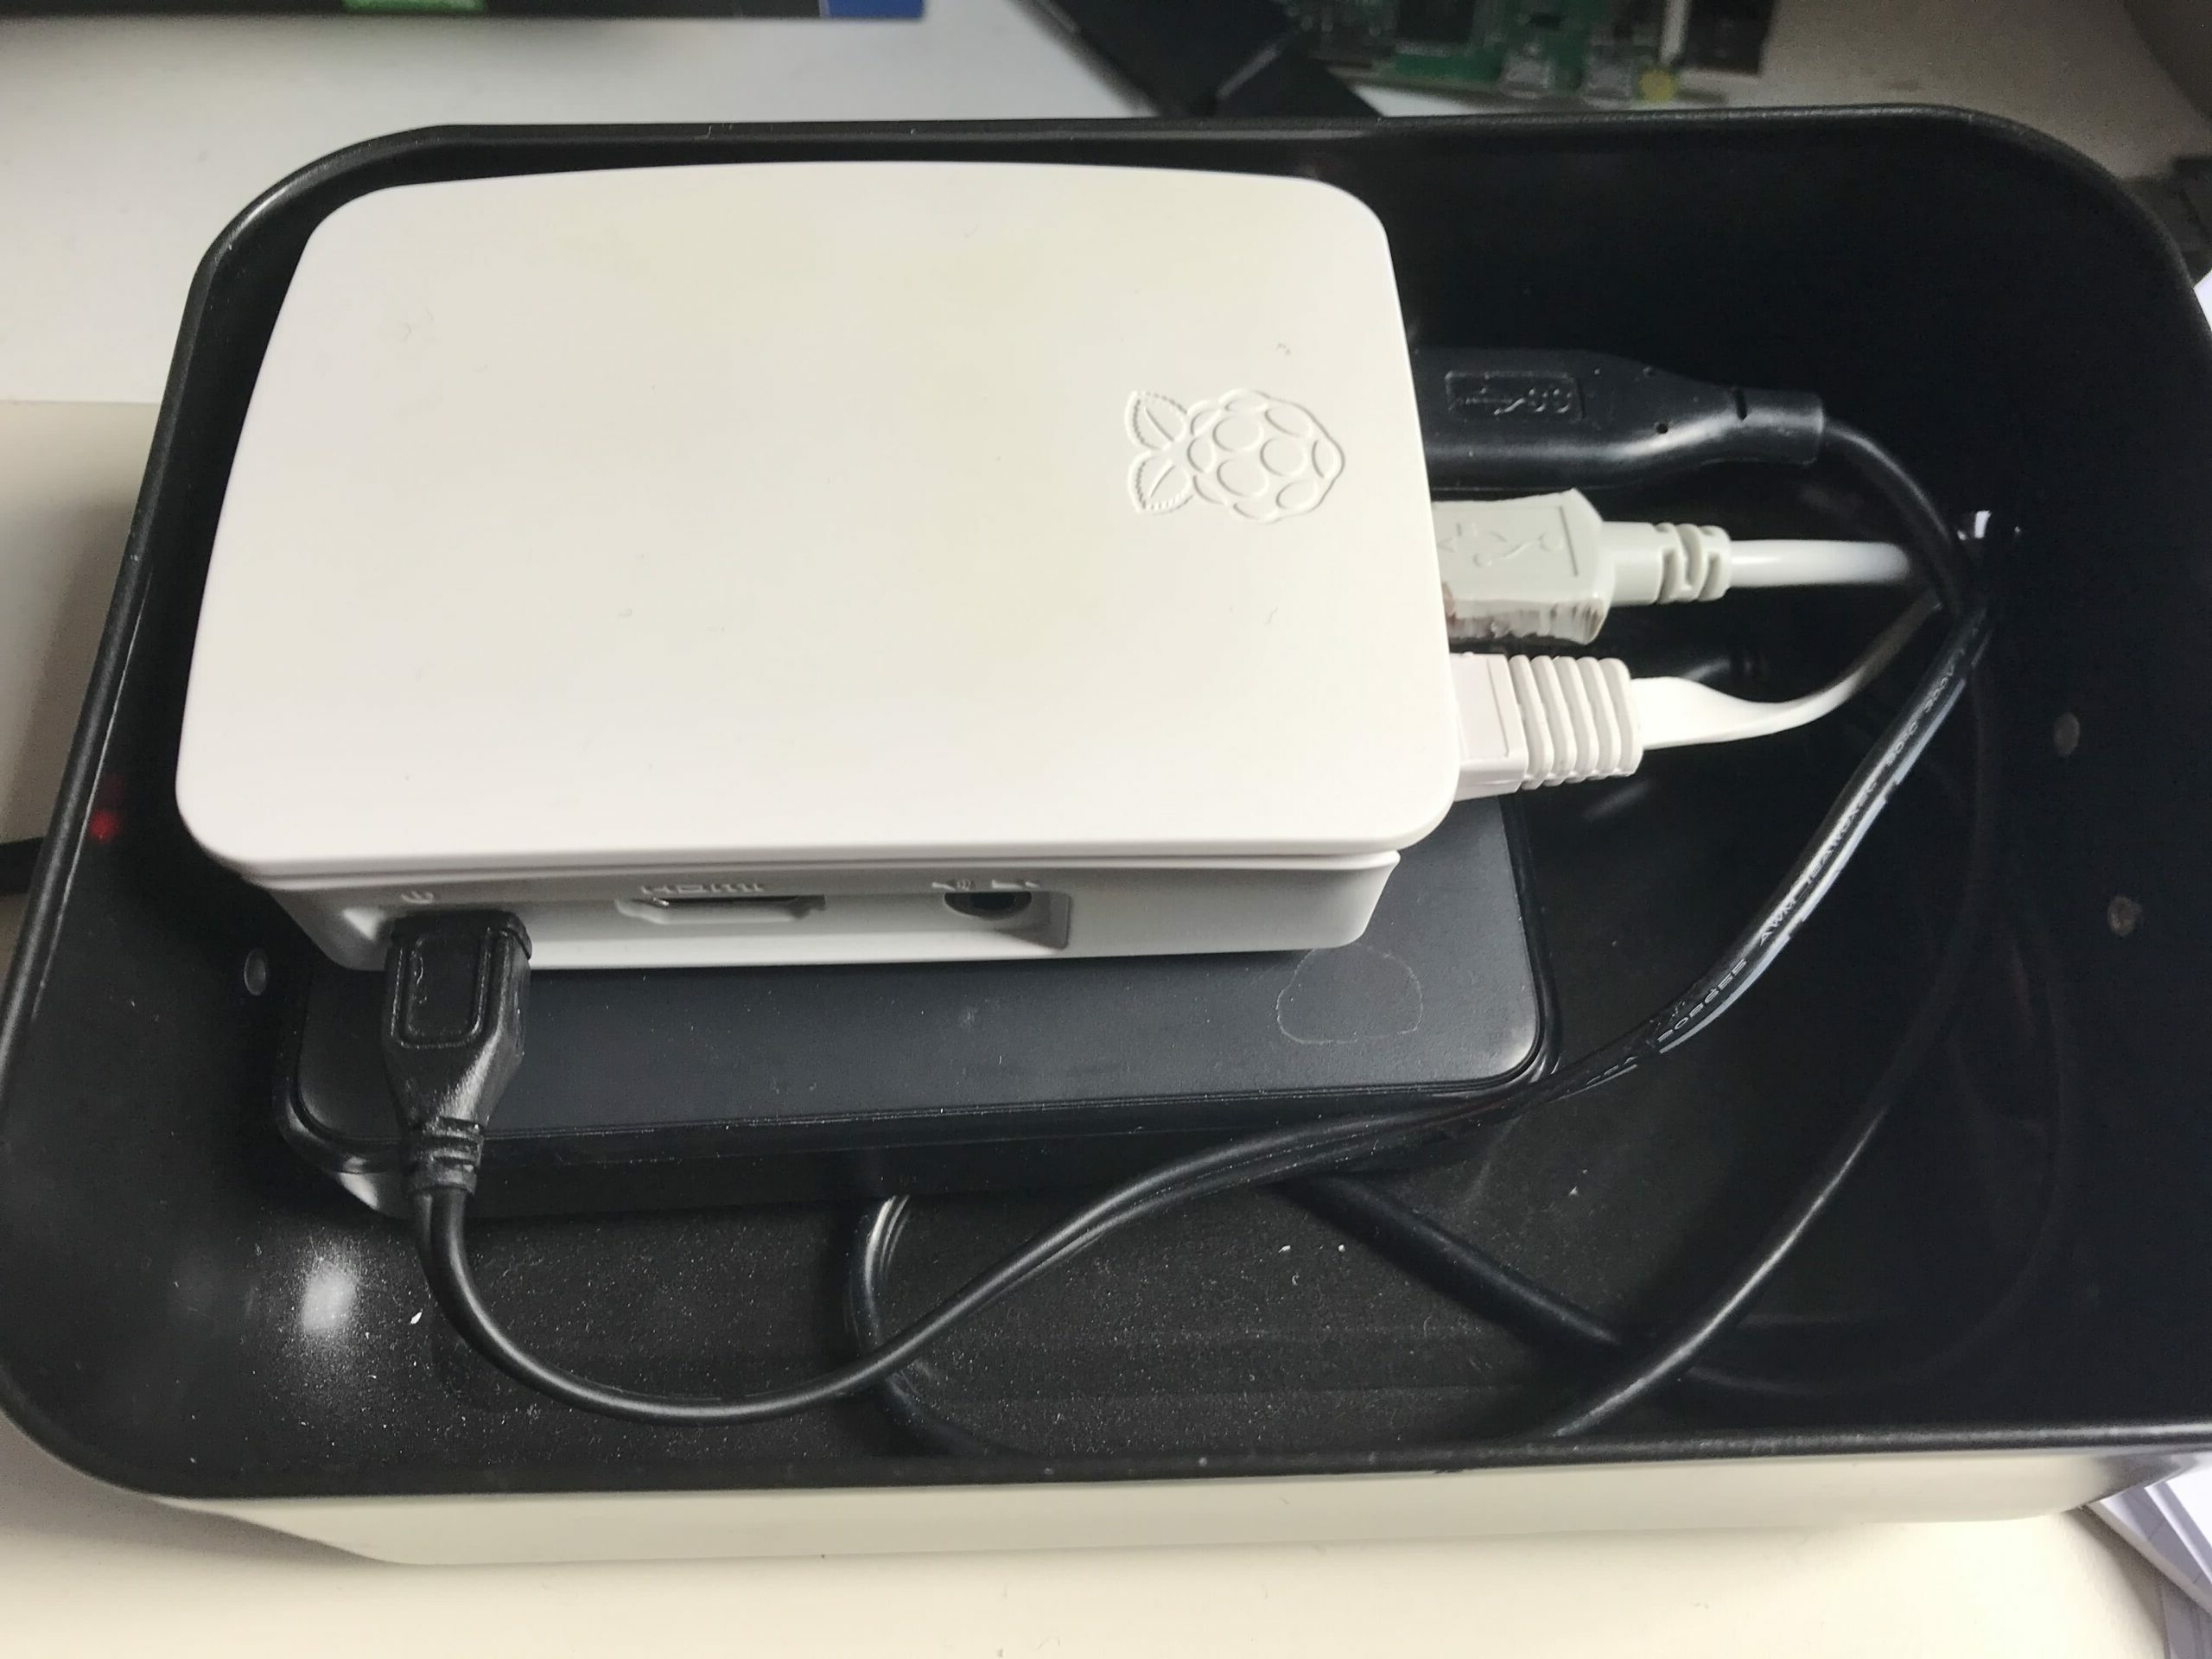

Not too long ago I bought a Pi 4 with 4GB of RAM and a 32GB SD card which should replace the old one (which had a 16GB card). Because I didn’t want to completely reinstall everything I decided to migrate the data between both cards. I will further explain the necessary steps in this article.
What’s needed is a Linux system and a device providing an SD card reader.
Creating the image
To save the data of the existing SD card a complete image can be created. I can recommend the tool “dd” for this step.
There are two different approaches to creating such an image. If the downtime of the system should be kept as low as possible you can create the image while the system is turned on. This is possible via ssh using the following command (just an example):
$ ssh root@192.168.178.130 "dd if=/dev/mmcblk0 " | dd of=/tmp/pi-image.img status=progress
This command creates an SSH connection to the system with the IP 192.168.178.130 and copies the complete device /dev/mmcblk0 to a local file called “/tmp/pi-image.img”.
The second and easier way is to put the sd card directly into the system with the sd card reader and create an image using the following command:
$ sudo dd if=/dev/mmcblk0 of=/tmp/pi-image.img status=progress
Applying the image to the new card
In the next step the newly created image has to be written to the new SD card. If the new SD card also got the device name “/dev/mmcblk0”, the command could look like this:
$ sudo dd if=/tmp/pi-image.img of=/dev/mmcblk0 status=progress
Expanding the partition
When the image has been written to the new sd card the partition and the file system have to be resized to completely allocate the new space. Resizing the partition could look like this:
Opening “fdisk” for the sd card:
$ sudo fdisk /dev/mmcblk0
Printing the partitioning table and taking note of the start sector of the second partition (in my case 540672):
Command (m for help): p
Disk /dev/mmcblk0: 28.94 GiB, 31046238208 bytes, 60637184 sectors
Units: sectors of 1 * 512 = 512 bytes
Sector size (logical/physical): 512 bytes / 512 bytes
I/O size (minimum/optimal): 512 bytes / 512 bytes
Disklabel type: dos
Disk identifier: 0x8005b581
Device Boot Start End Sectors Size Id Type
/dev/mmcblk0p1 8192 532480 524289 256M c W95 FAT32 (LBA)
/dev/mmcblk0p2 540672 31116287 30575616 14.6G 83 Linux
Deleting the second partition:
Command (m for help): d
Partition number (1,2, default 2): 2
Partition 2 has been deleted.
Creating a new partition (the previously noted sector has to be entered as the beginning sector):
Command (m for help): n
Partition type
p primary (1 primary, 0 extended, 3 free)
e extended (container for logical partitions)
Select (default p): p
Partition number (2-4, default 2):
First sector (2048-60637183, default 2048): 540672
Last sector, +/-sectors or +/-size{K,M,G,T,P} (540672-60637183, default 60637183):
Created a new partition 2 of type 'Linux' and of size 28.7 GiB.
Partition #2 contains a ext4 signature.
Do you want to remove the signature? [Y]es/[N]o: N
Writing the changes to the sd card and exiting fdisk:
Command (m for help): w
The partition table has been altered.
Syncing disks.
Resizing the file system
As last step the file system has to be expanded. The process can look like this:
Unmounting the existing file system in case it is mounted:
$ sudo umount /dev/mmcblk0p2
Executing a file system check:
$ sudo e2fsck -f /dev/mmcblk0p2
e2fsck 1.45.5 (07-Jan-2020)
Pass 1: Checking inodes, blocks, and sizes
Pass 2: Checking directory structure
Pass 3: Checking directory connectivity
Pass 4: Checking reference counts
Pass 5: Checking group summary information
rootfs: 123411/915408 files (0.2% non-contiguous), 725189/3821952 blocks
Resizing the file system:
$ sudo resize2fs /dev/mmcblk0p2
resize2fs 1.45.5 (07-Jan-2020)
Resizing the filesystem on /dev/mmcblk0p2 to 7512064 (4k) blocks.
The filesystem on /dev/mmcblk0p2 is now 7512064 (4k) blocks long.
Finish
After executing the described steps I was able to boot the new Raspberry Pi without any problems. No data was lost.
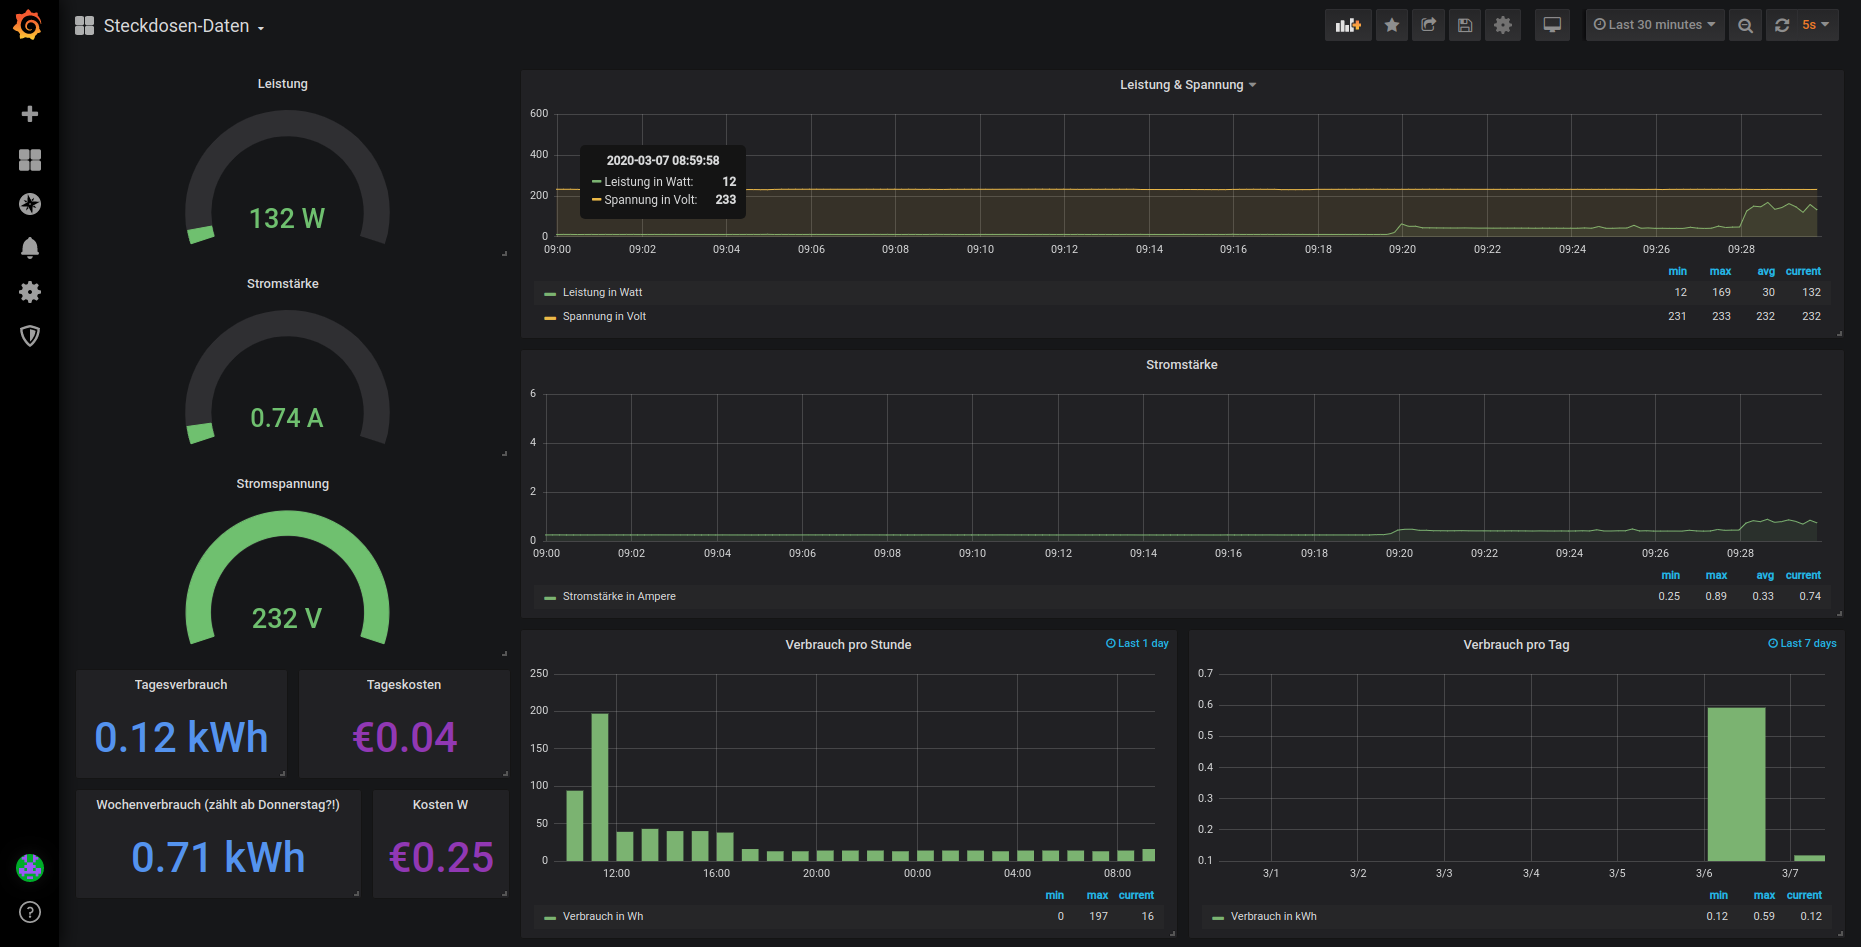
Easily monitoring power usage with Grafana
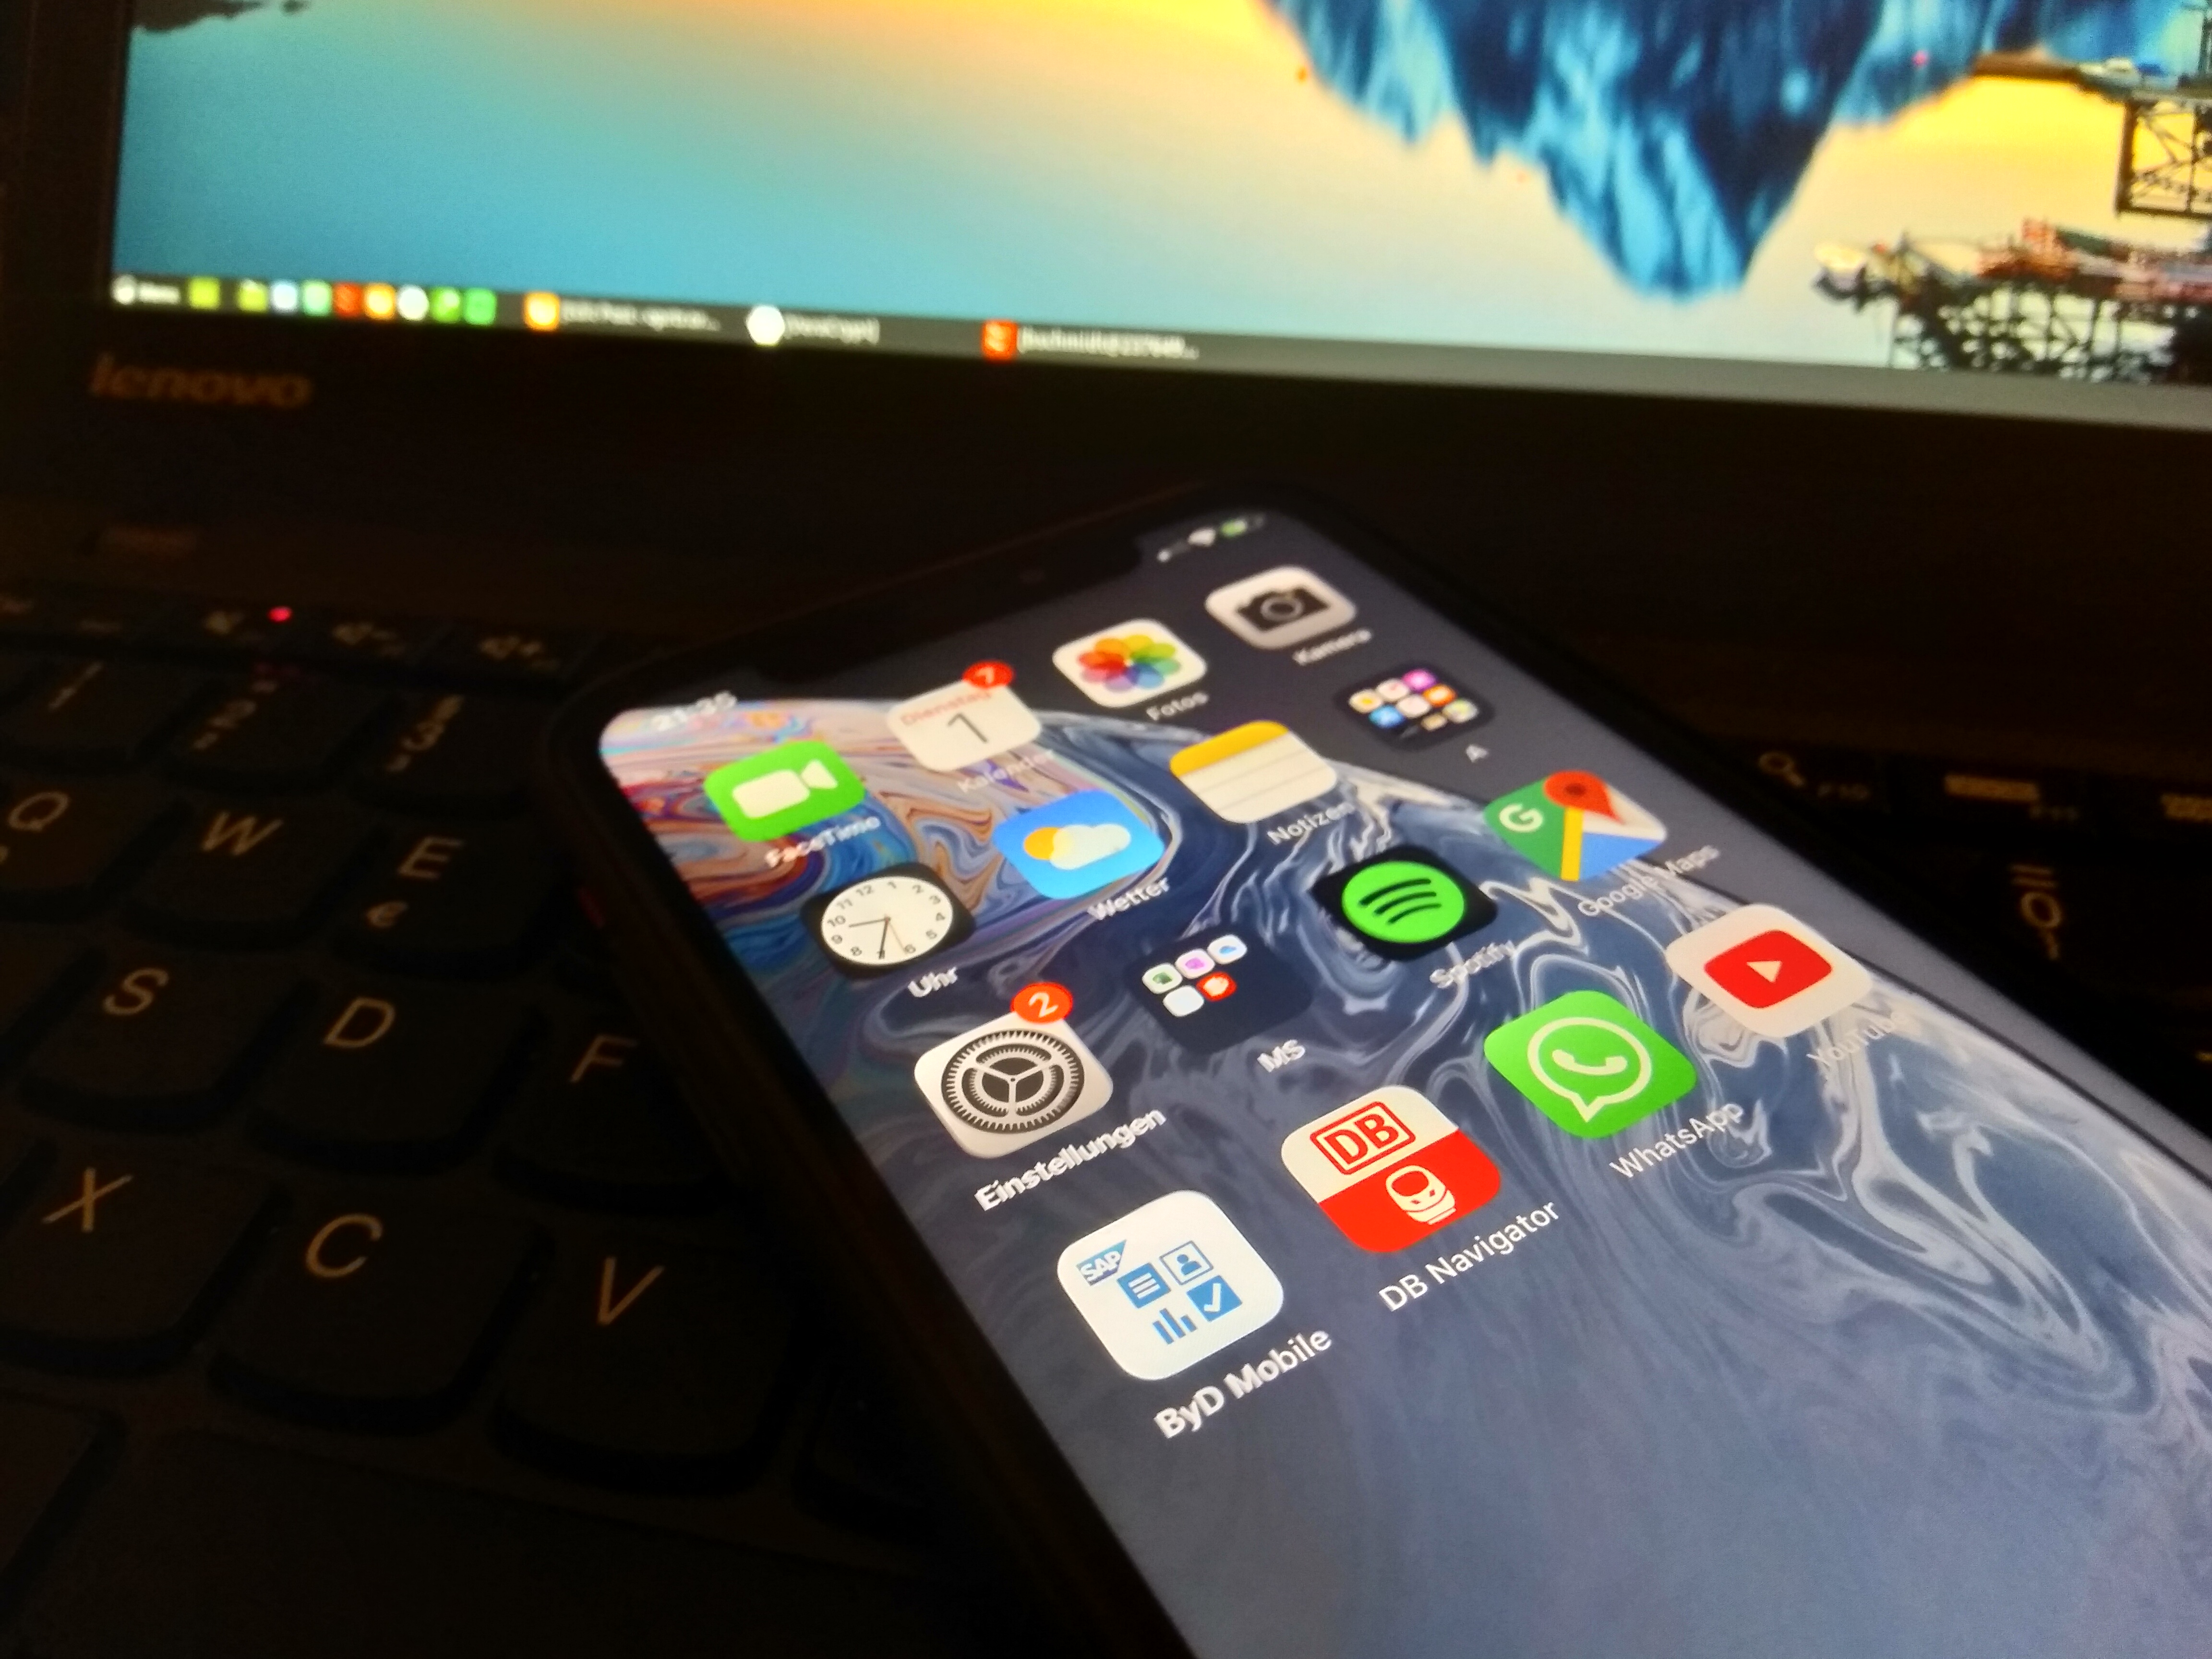
How to access an iPhone in Linux