ThinkPad T450s Full HD screen replacement
Some time ago I bought a very basic configured ThinkPad T450s. It came with a TN Display with a resolution of 1600*900. Since the T450s could also be configured with a Full HD screen I decided to do that upgrade by myself.
In order to do so I ordered a fitting screen on Ebay and replaced the one my ThinkPad came with.
To make the switch easier for other people I decided to make a quick tutorial.
Preparation
To not damage the laptop it is recommended to proceed with the following preparation steps.
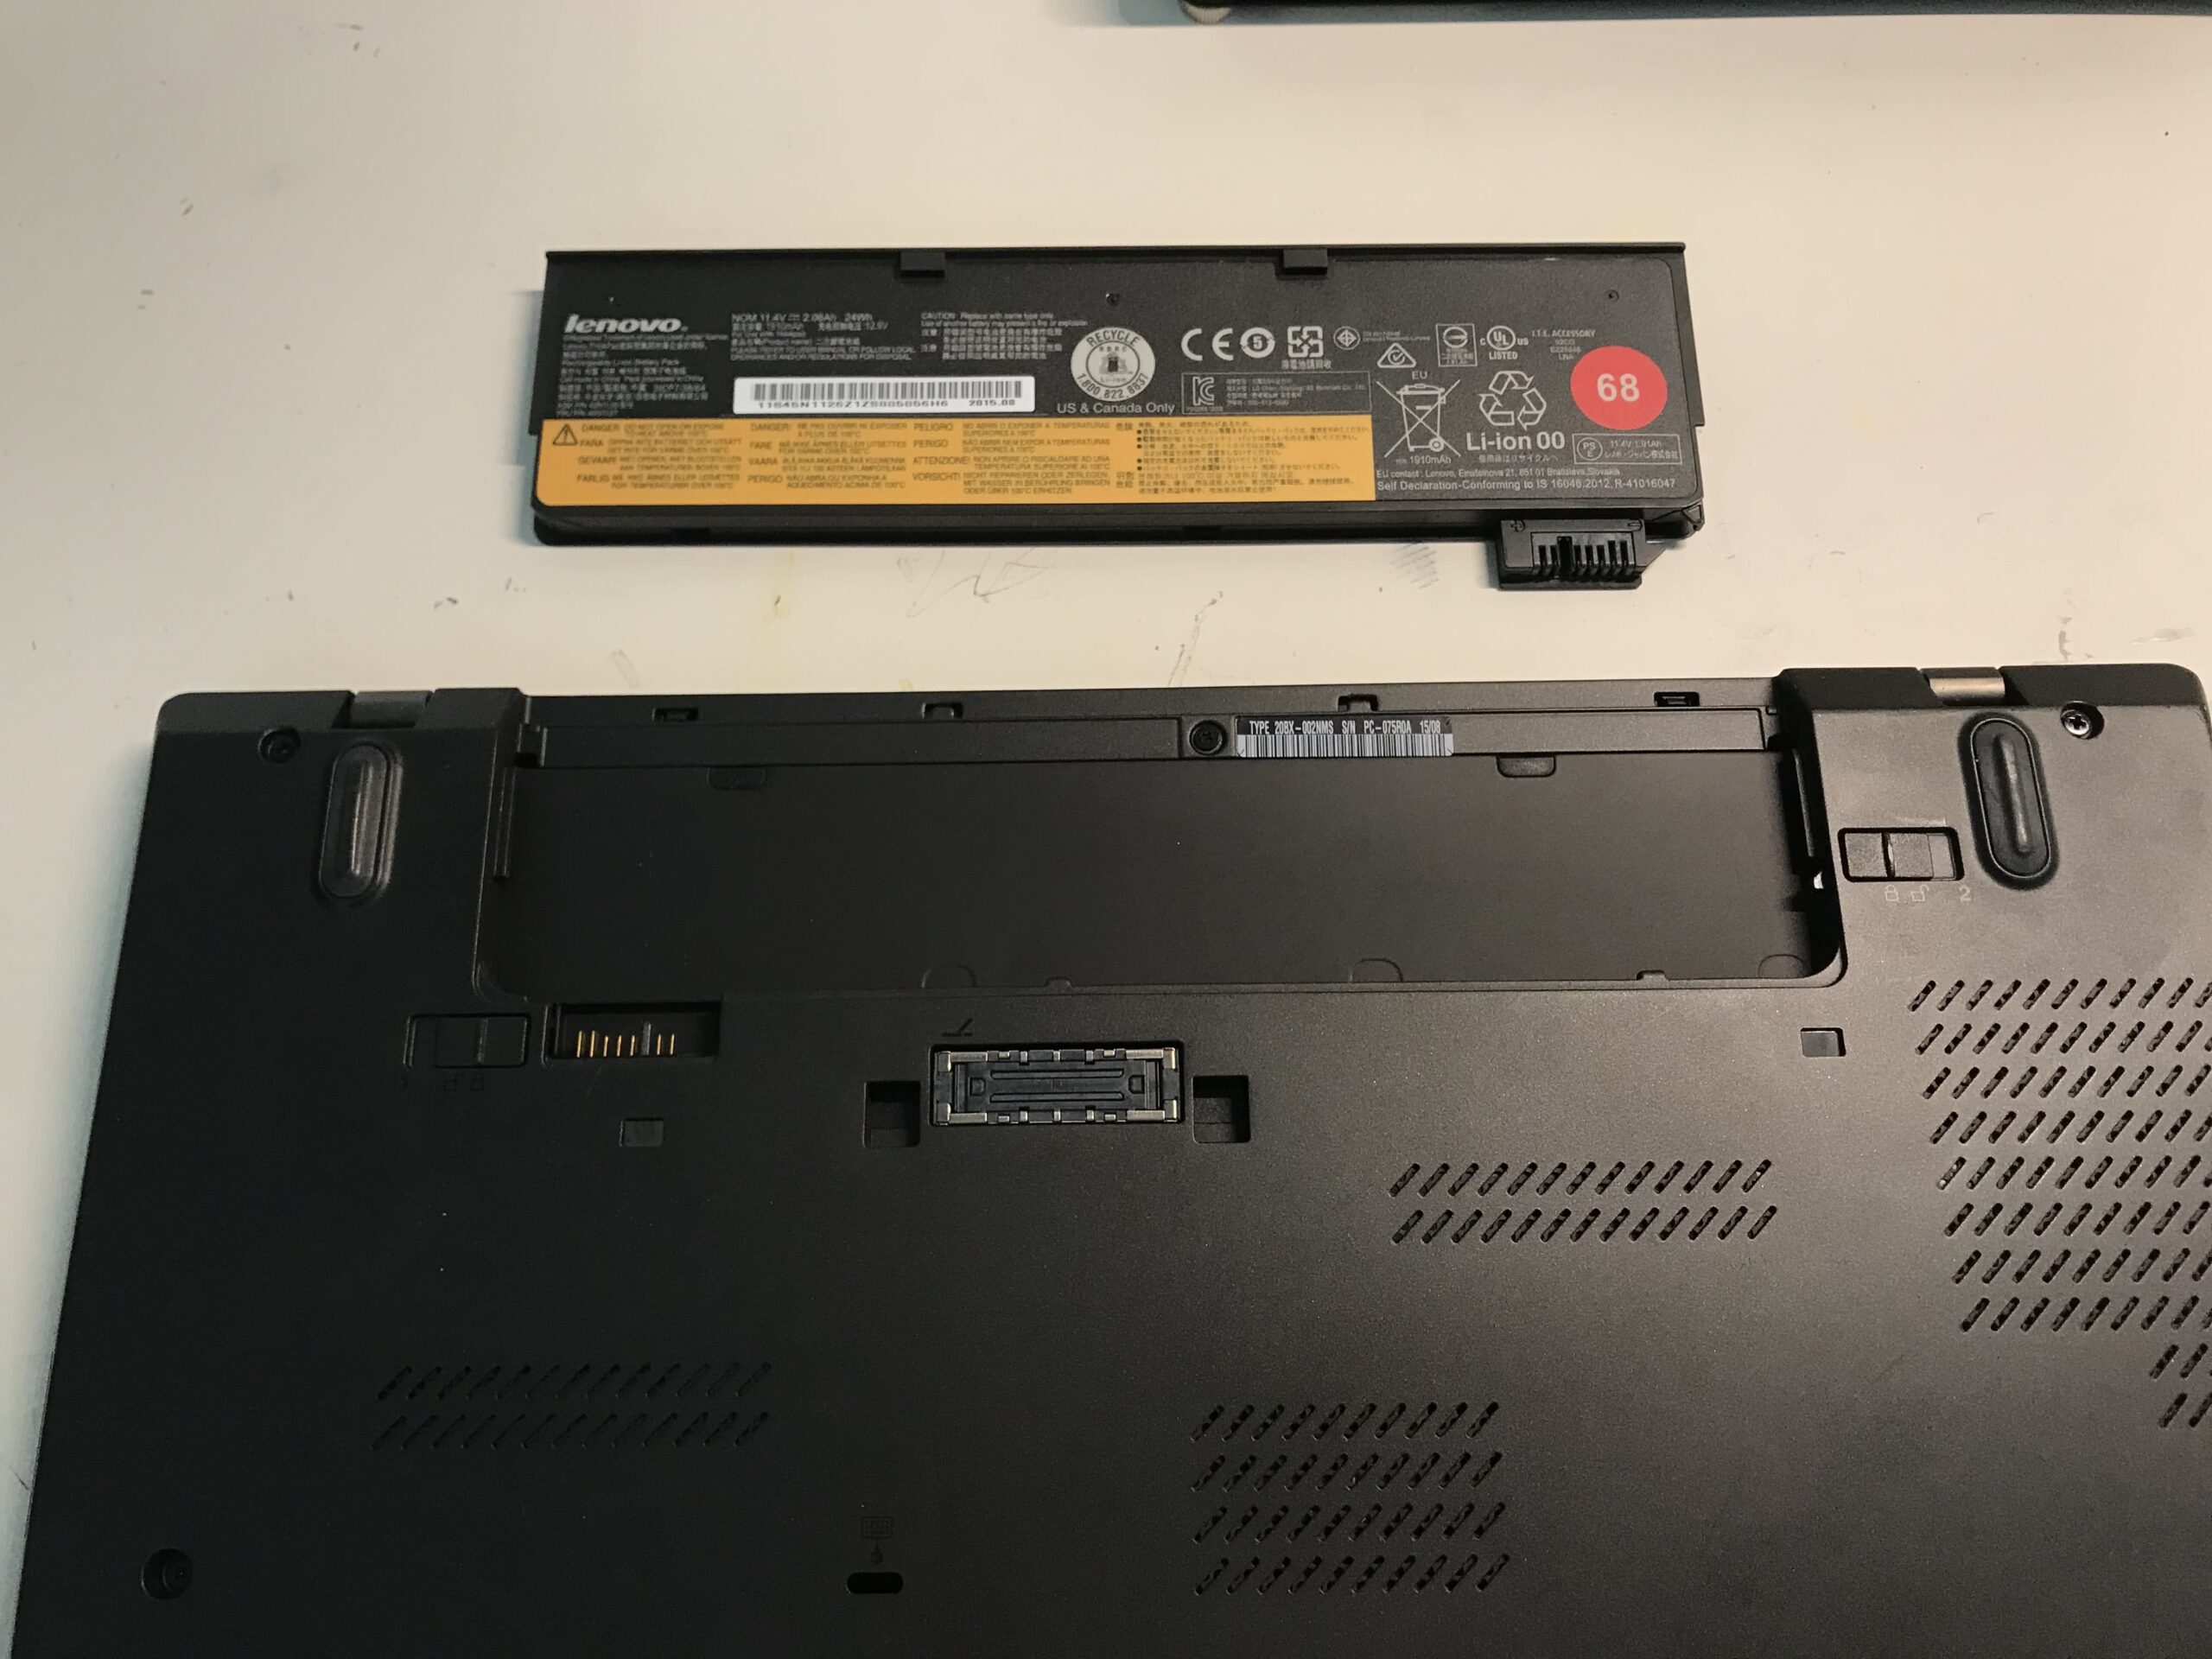
- disconnecting the external battery
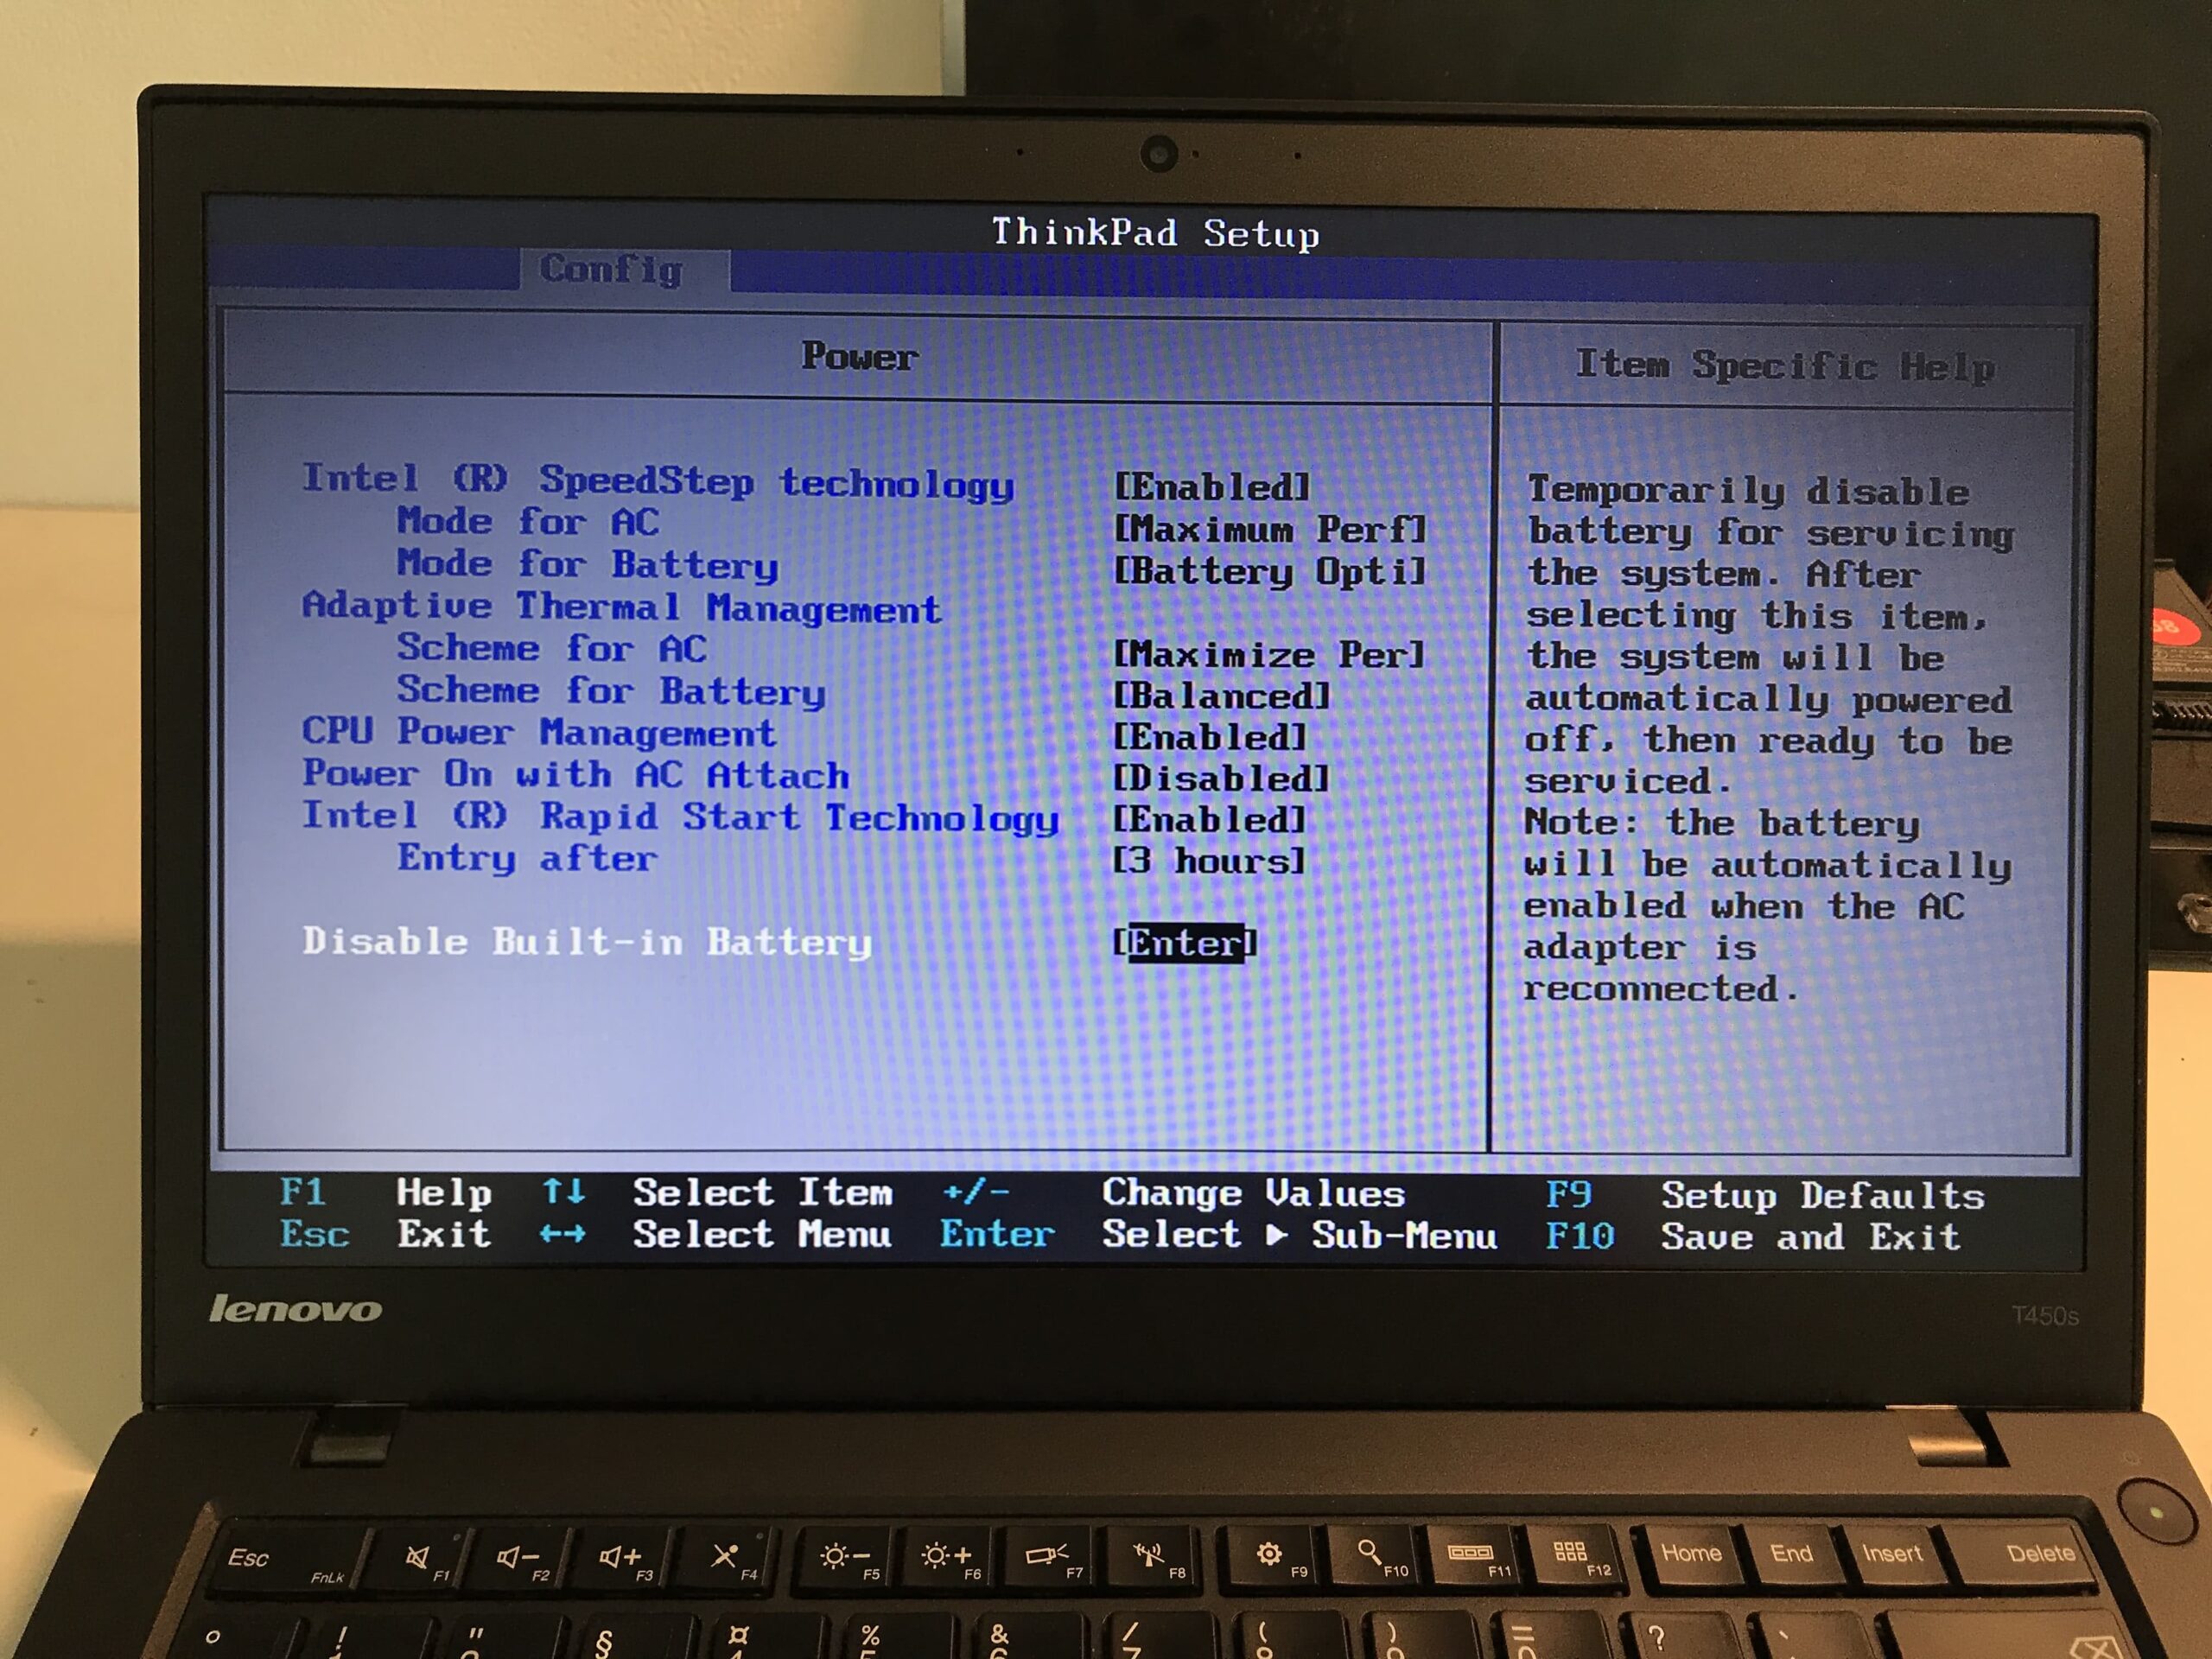
- deactivating the internal battery in the bios (this setting is found under “Config” and “Disable Built-in Battery”)
Both steps in pictures:
After deactivating both batteries the display switch could start.
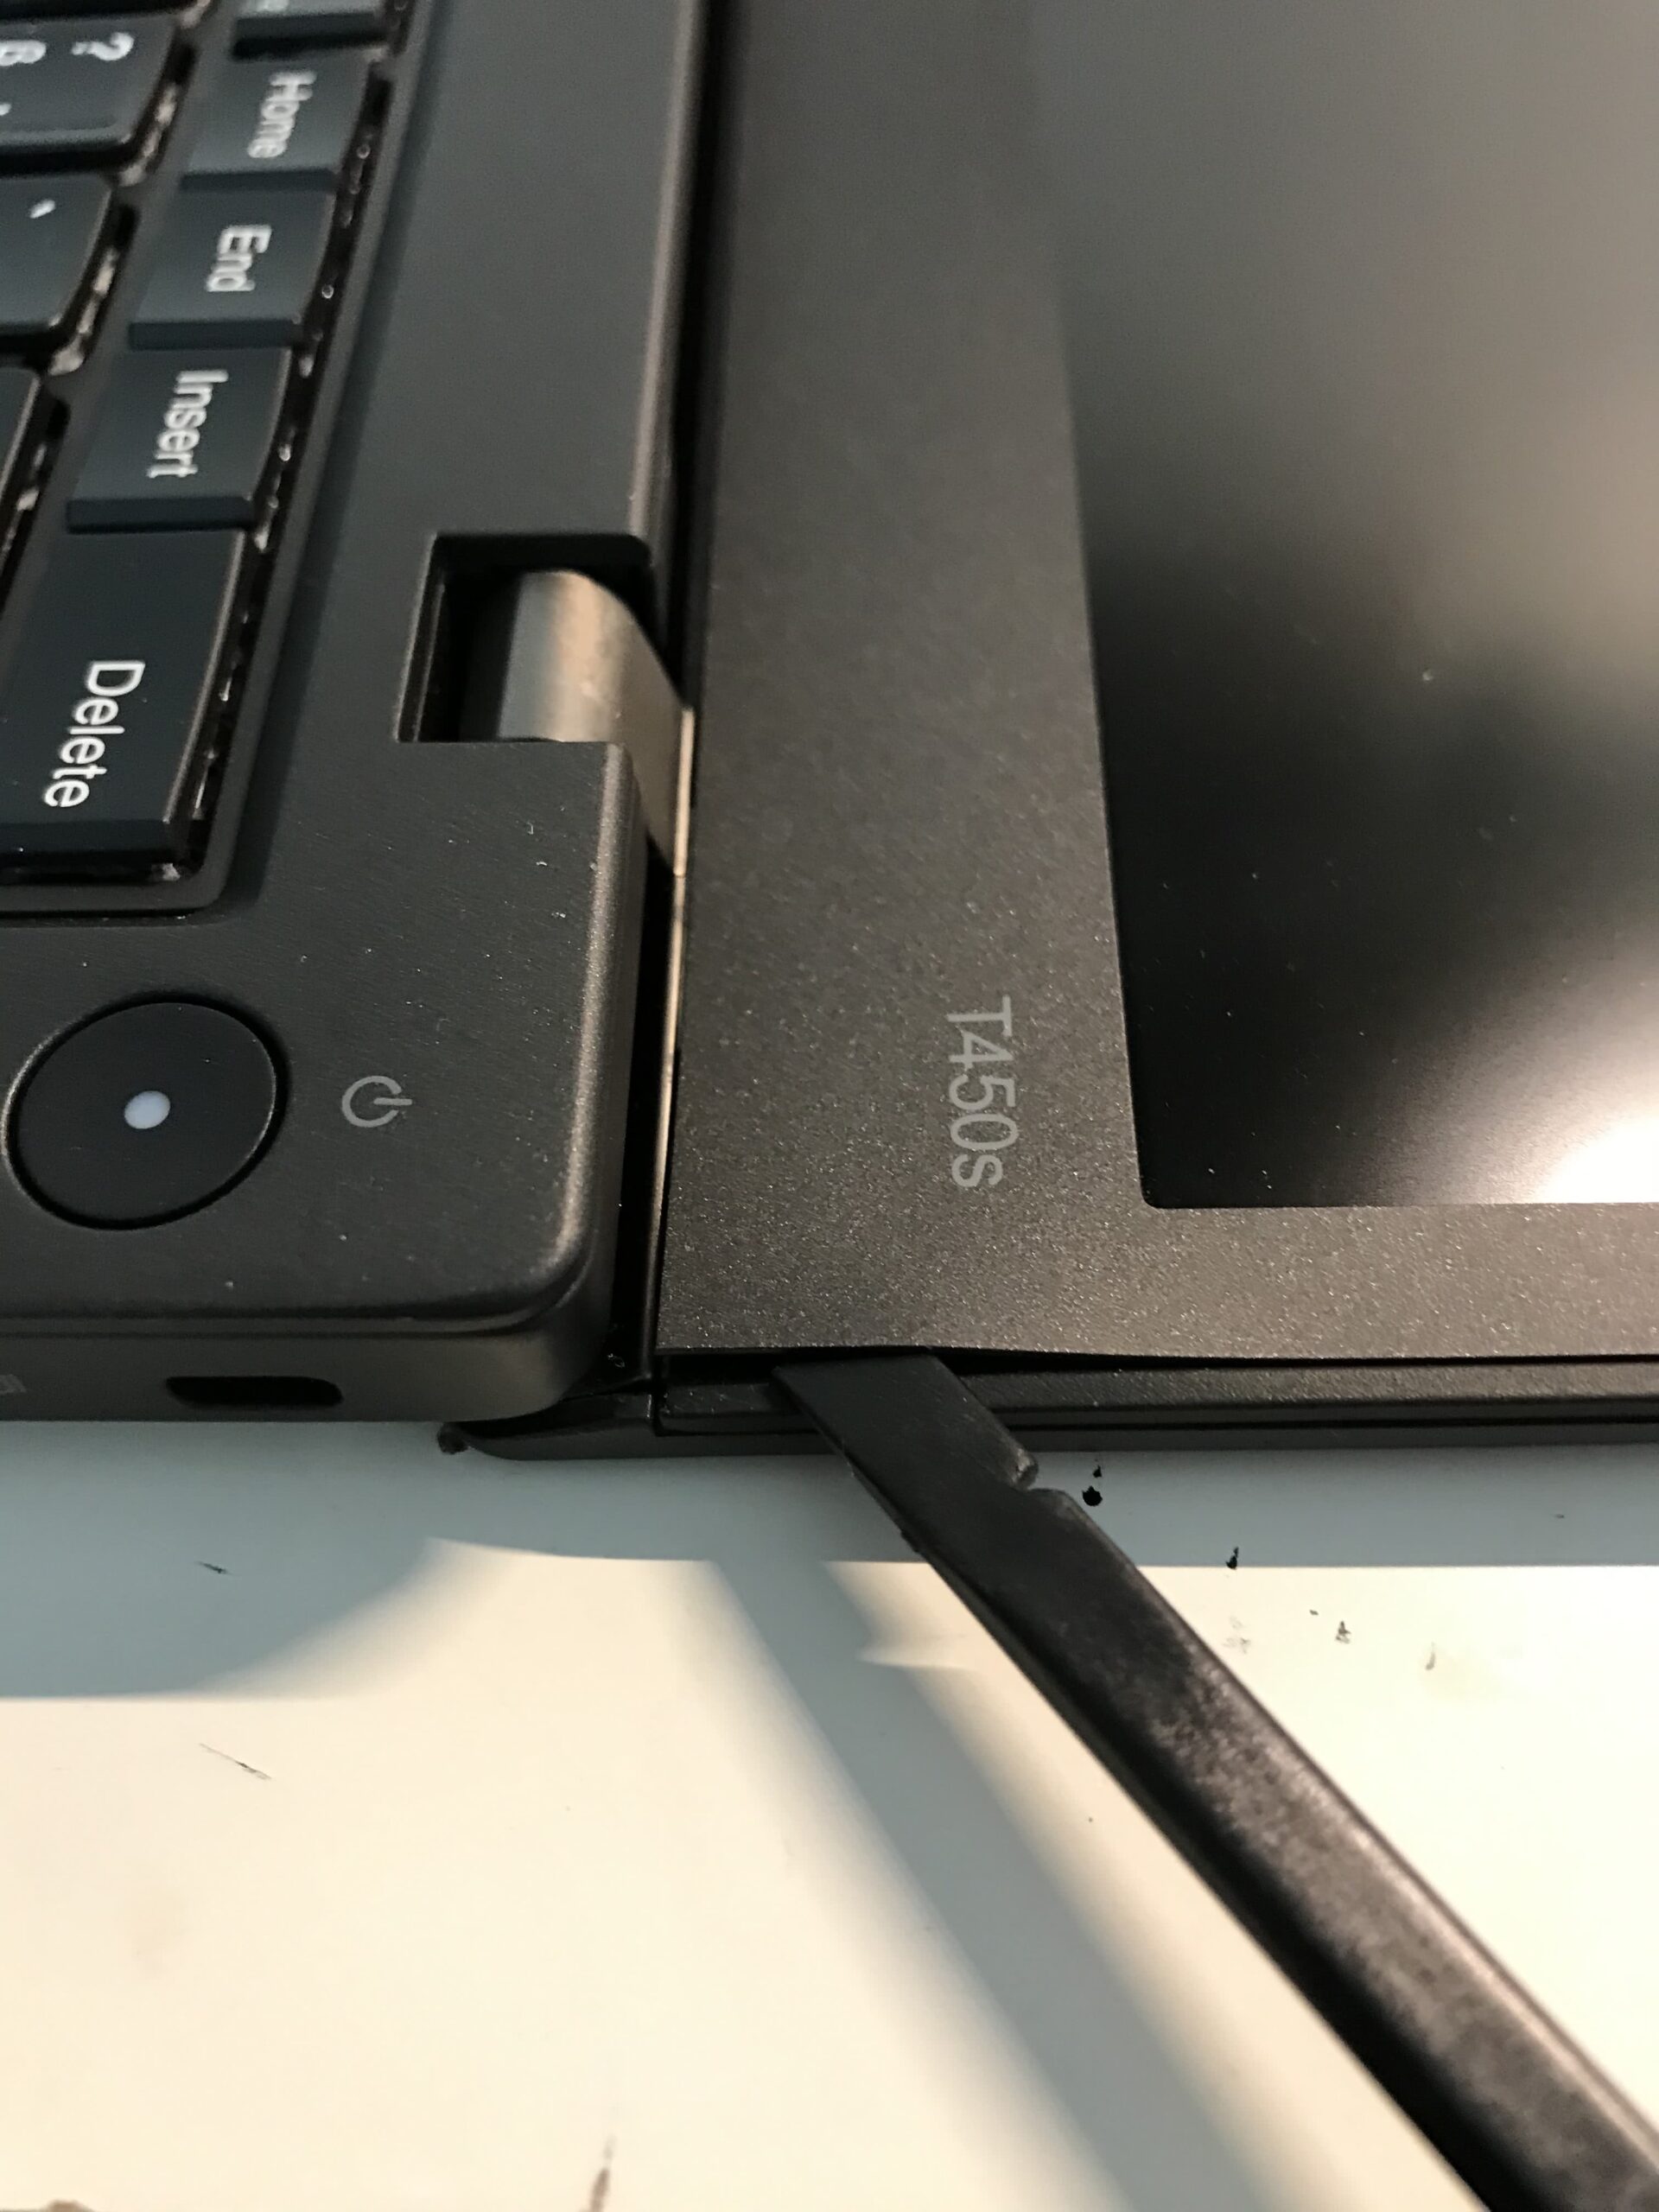
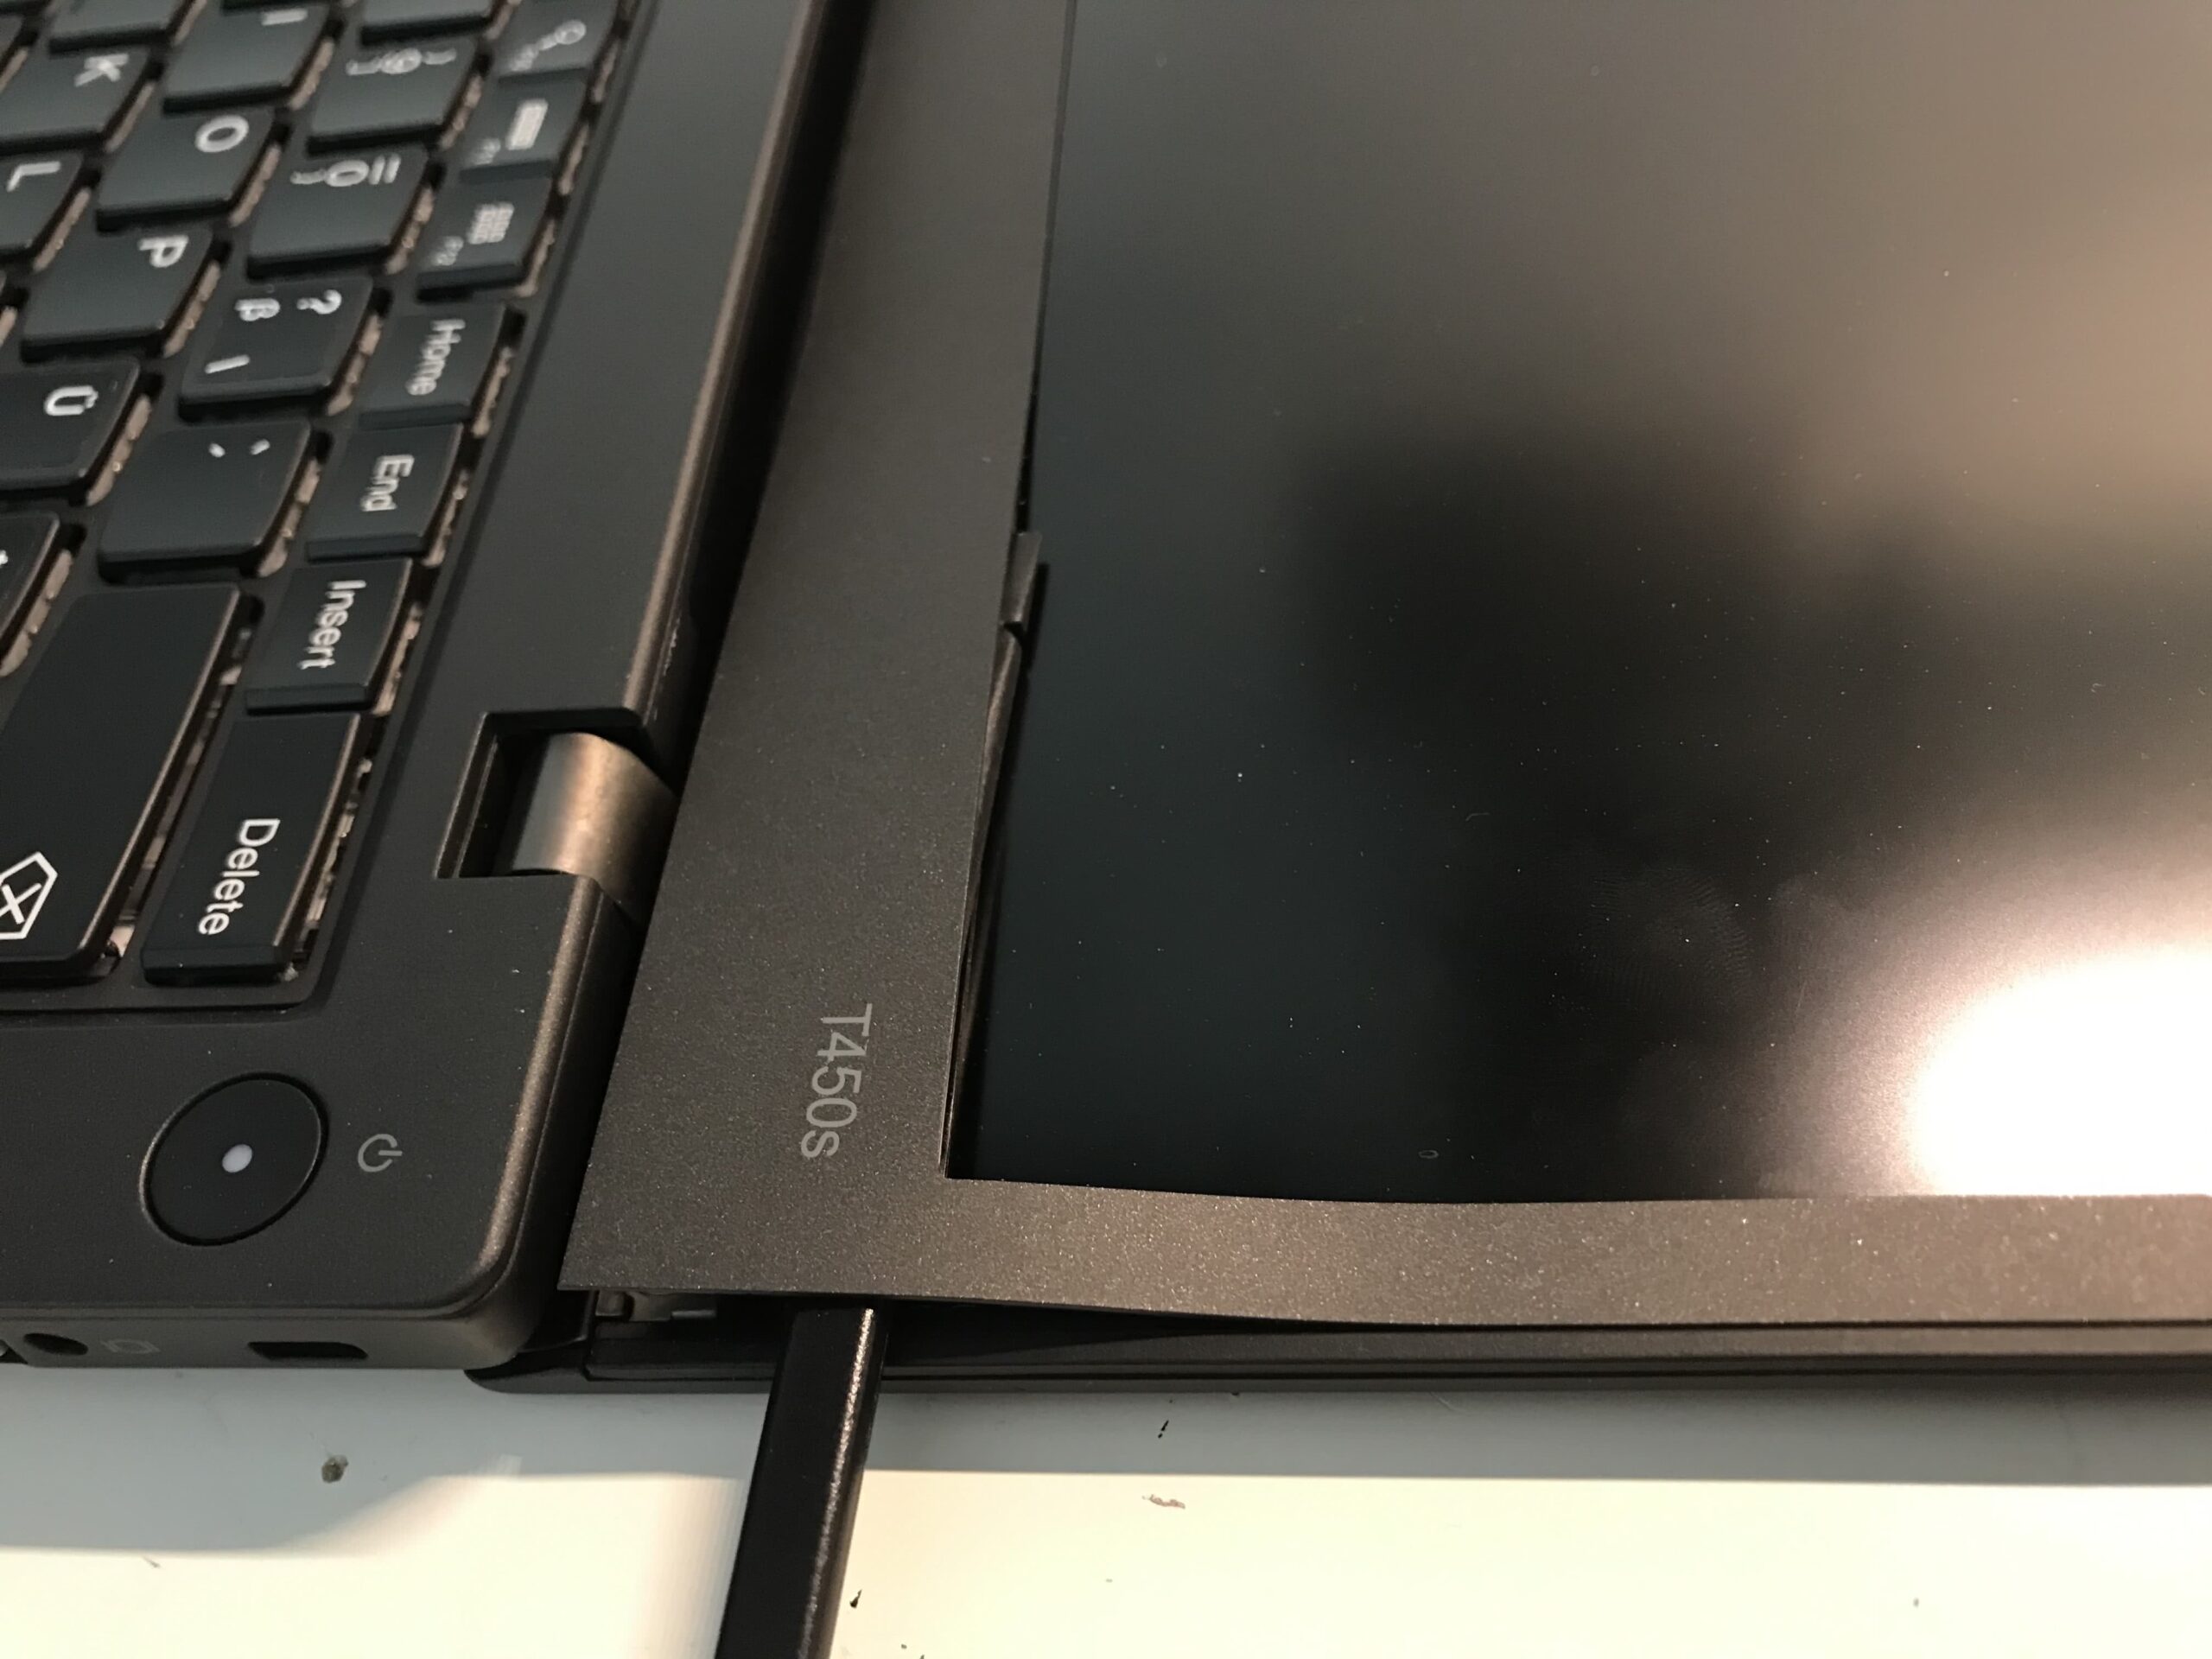
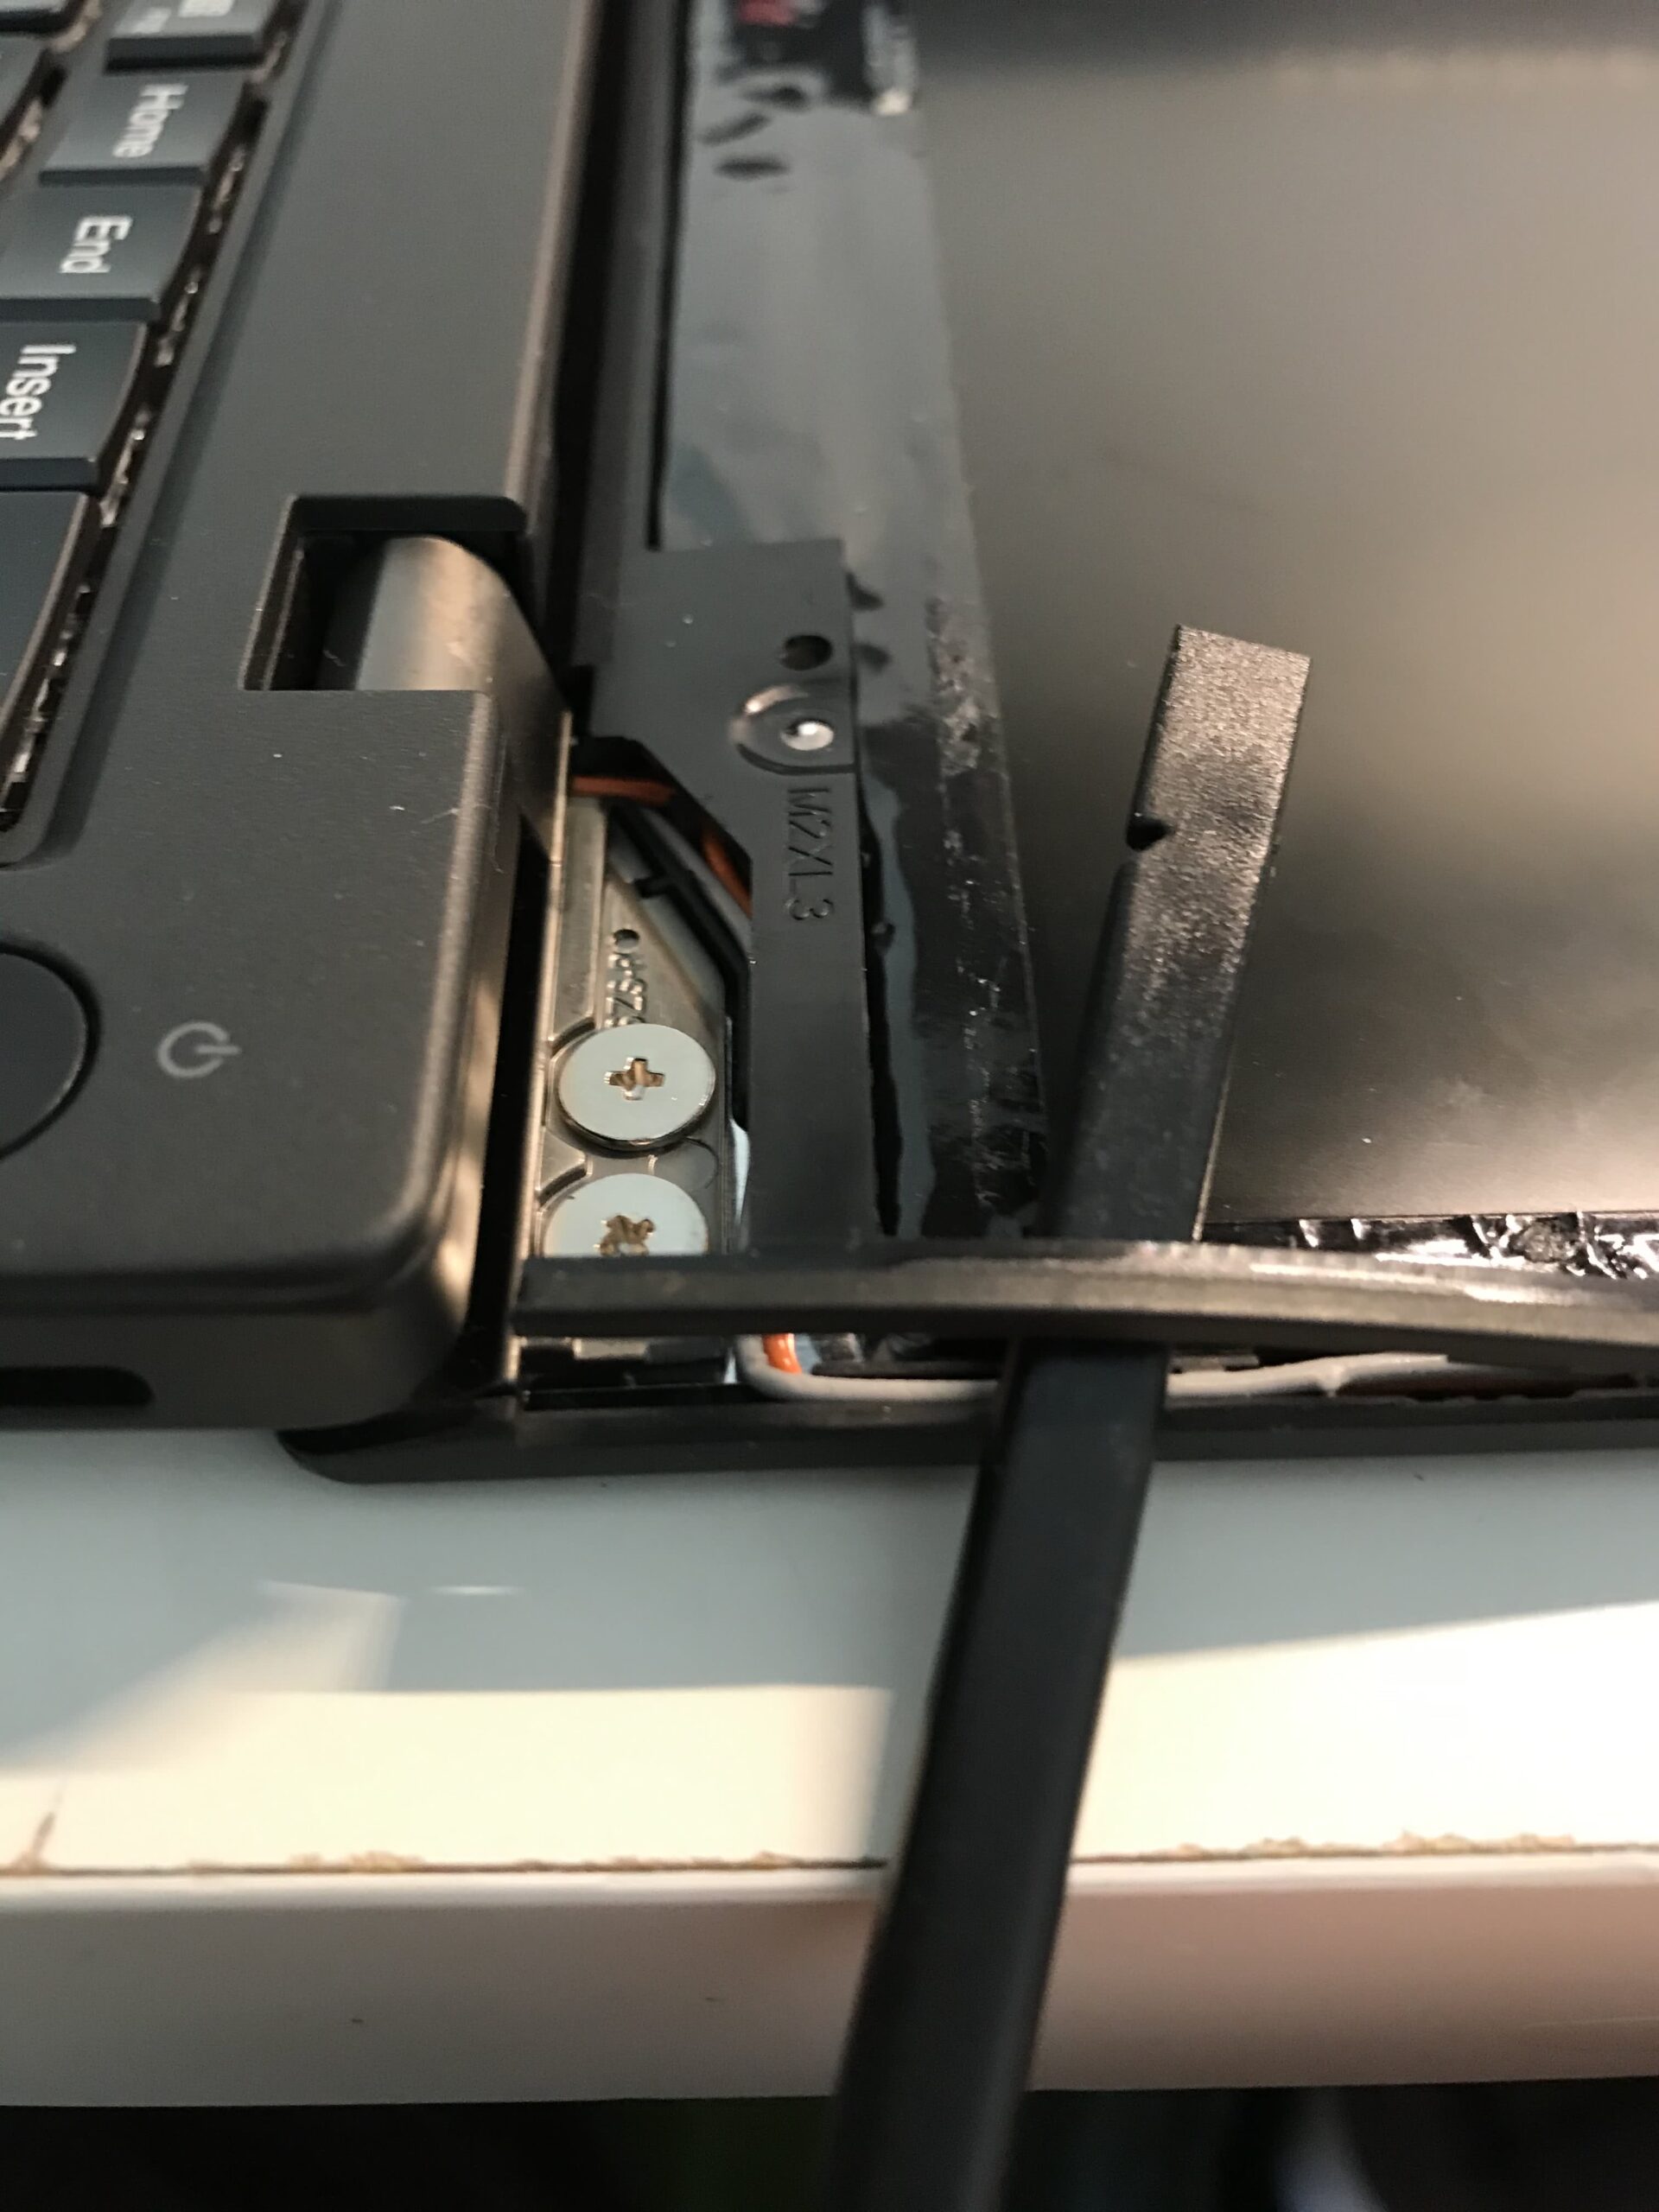
Removing the bezel
The bezel has to be removed to get to the display itself. It is consisting out of two parts.
The first part is glued and can be removed using a spudger which, for example, comes with most iPhone repair kits. The glue strips can be reused if you are careful enough while removing the first bezel part.
For me it worked best to start in the bottom right corner and from there to work around the display.
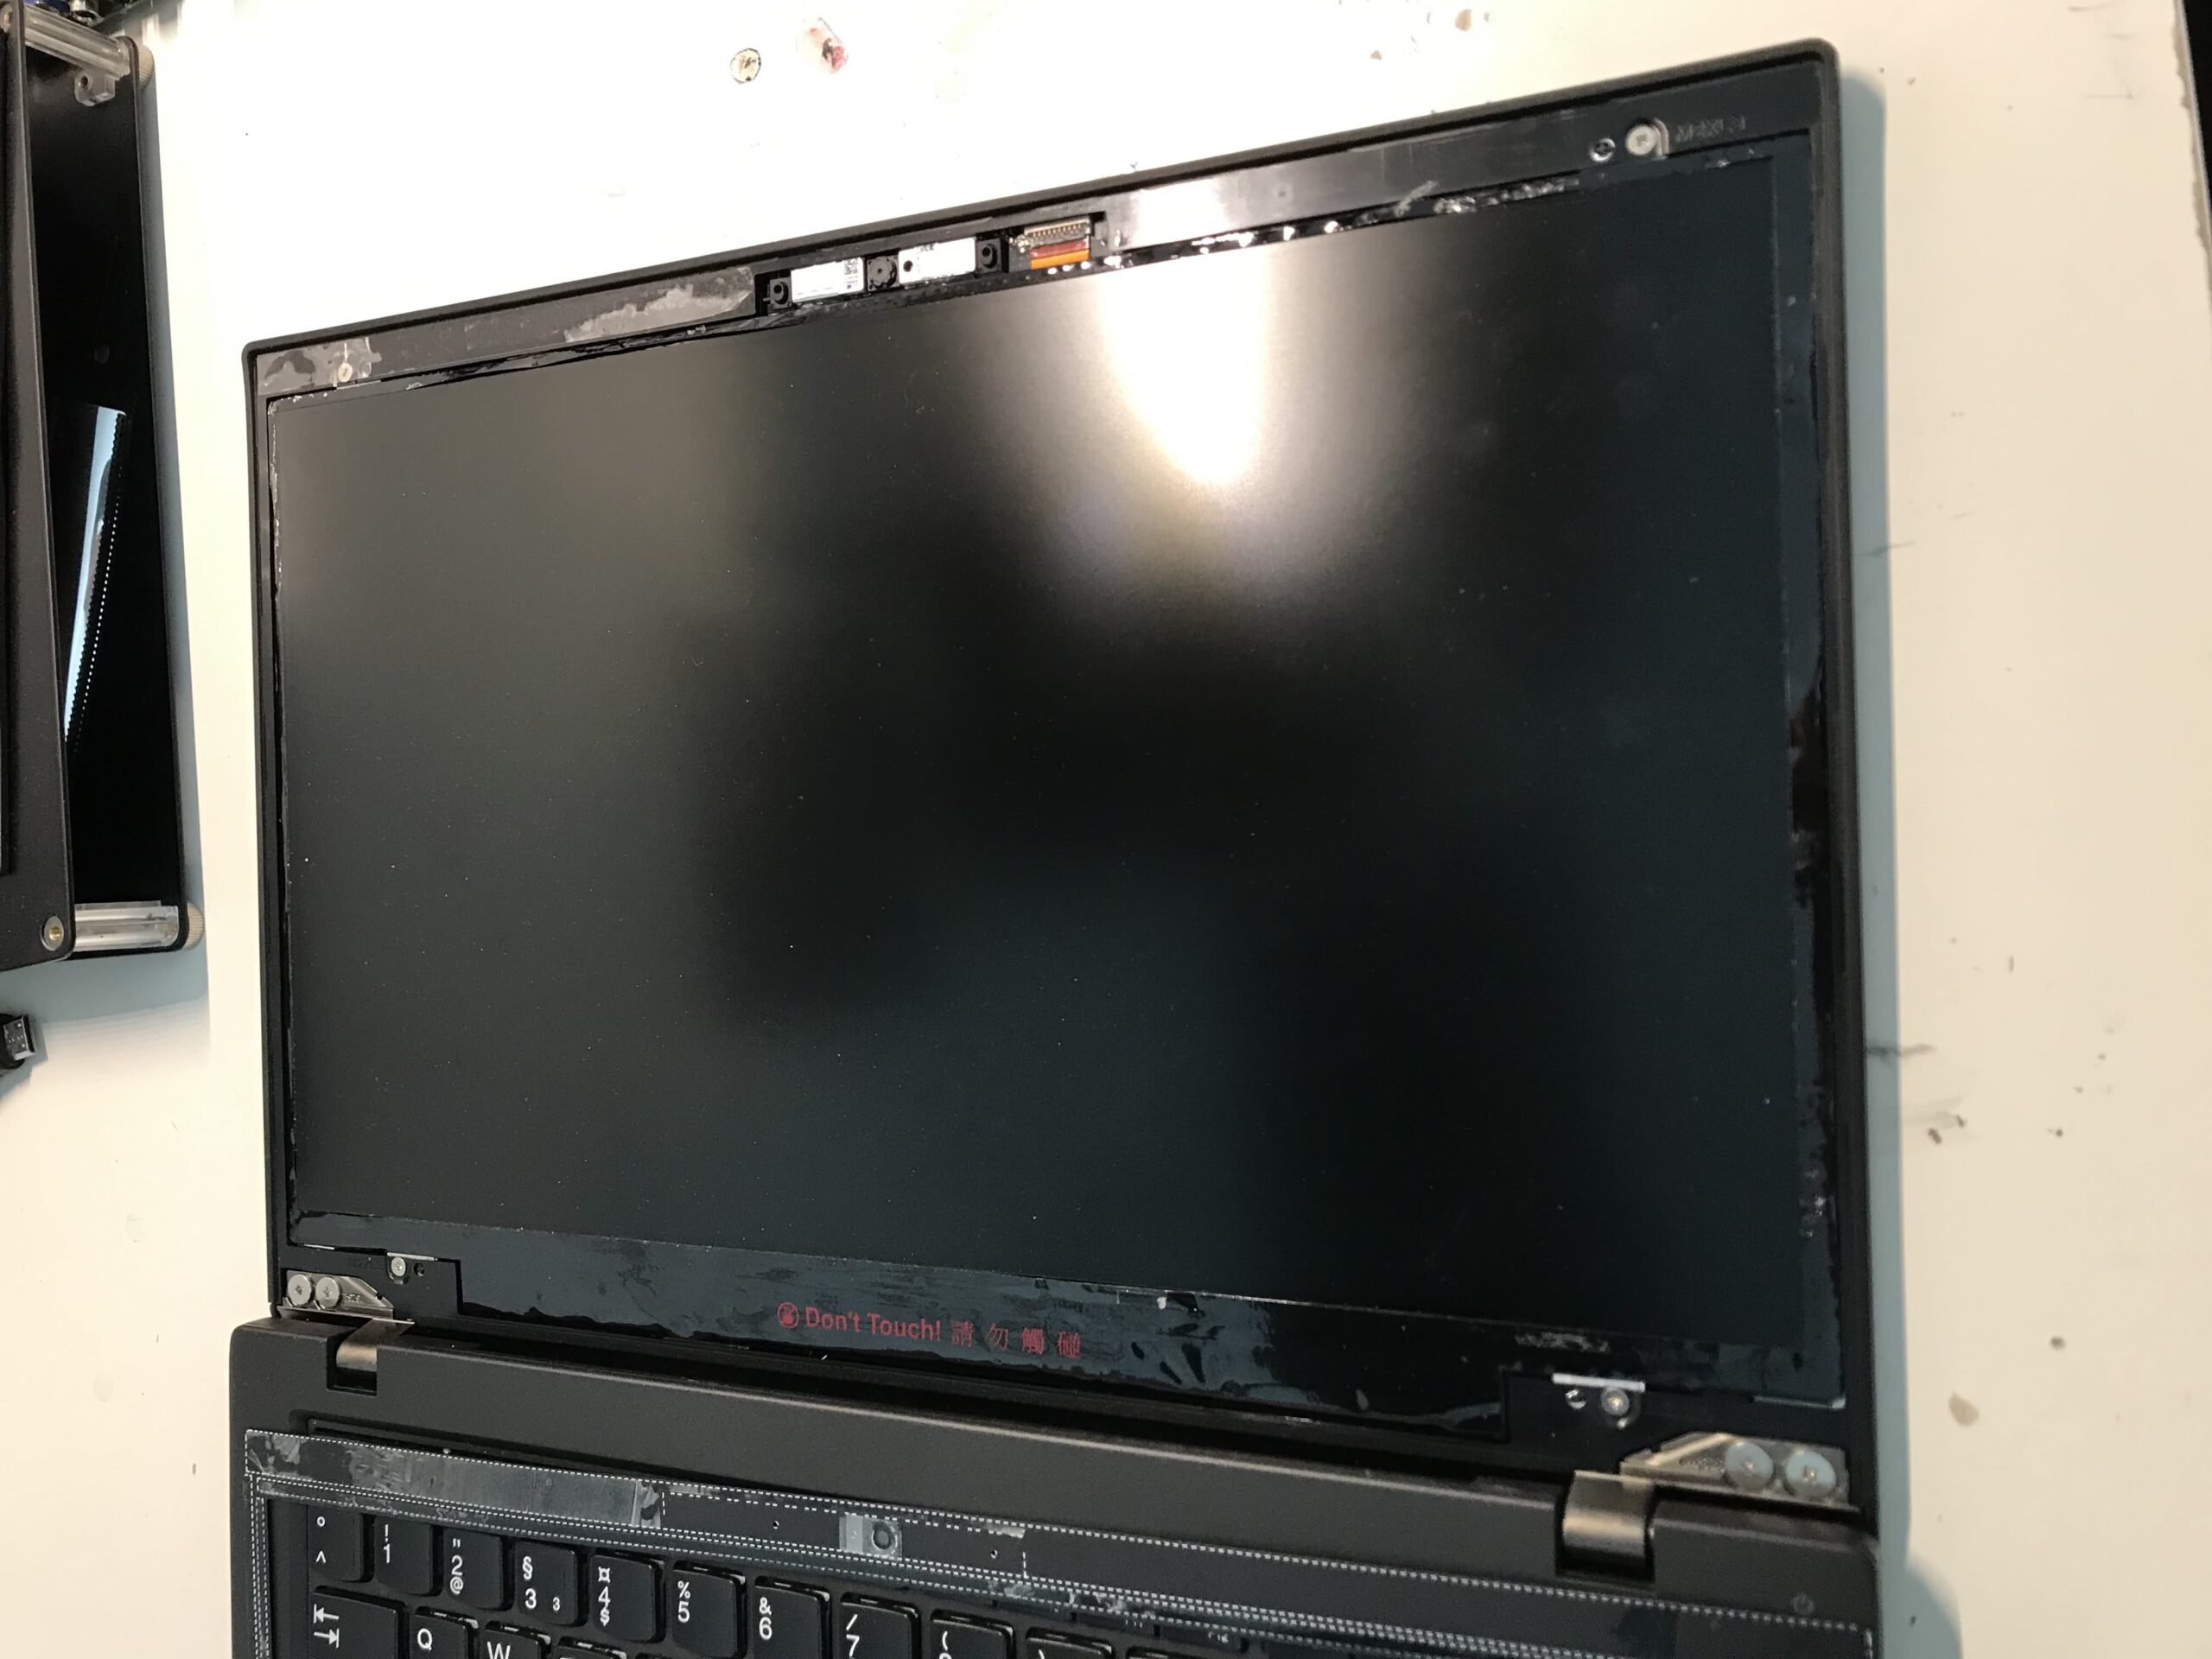
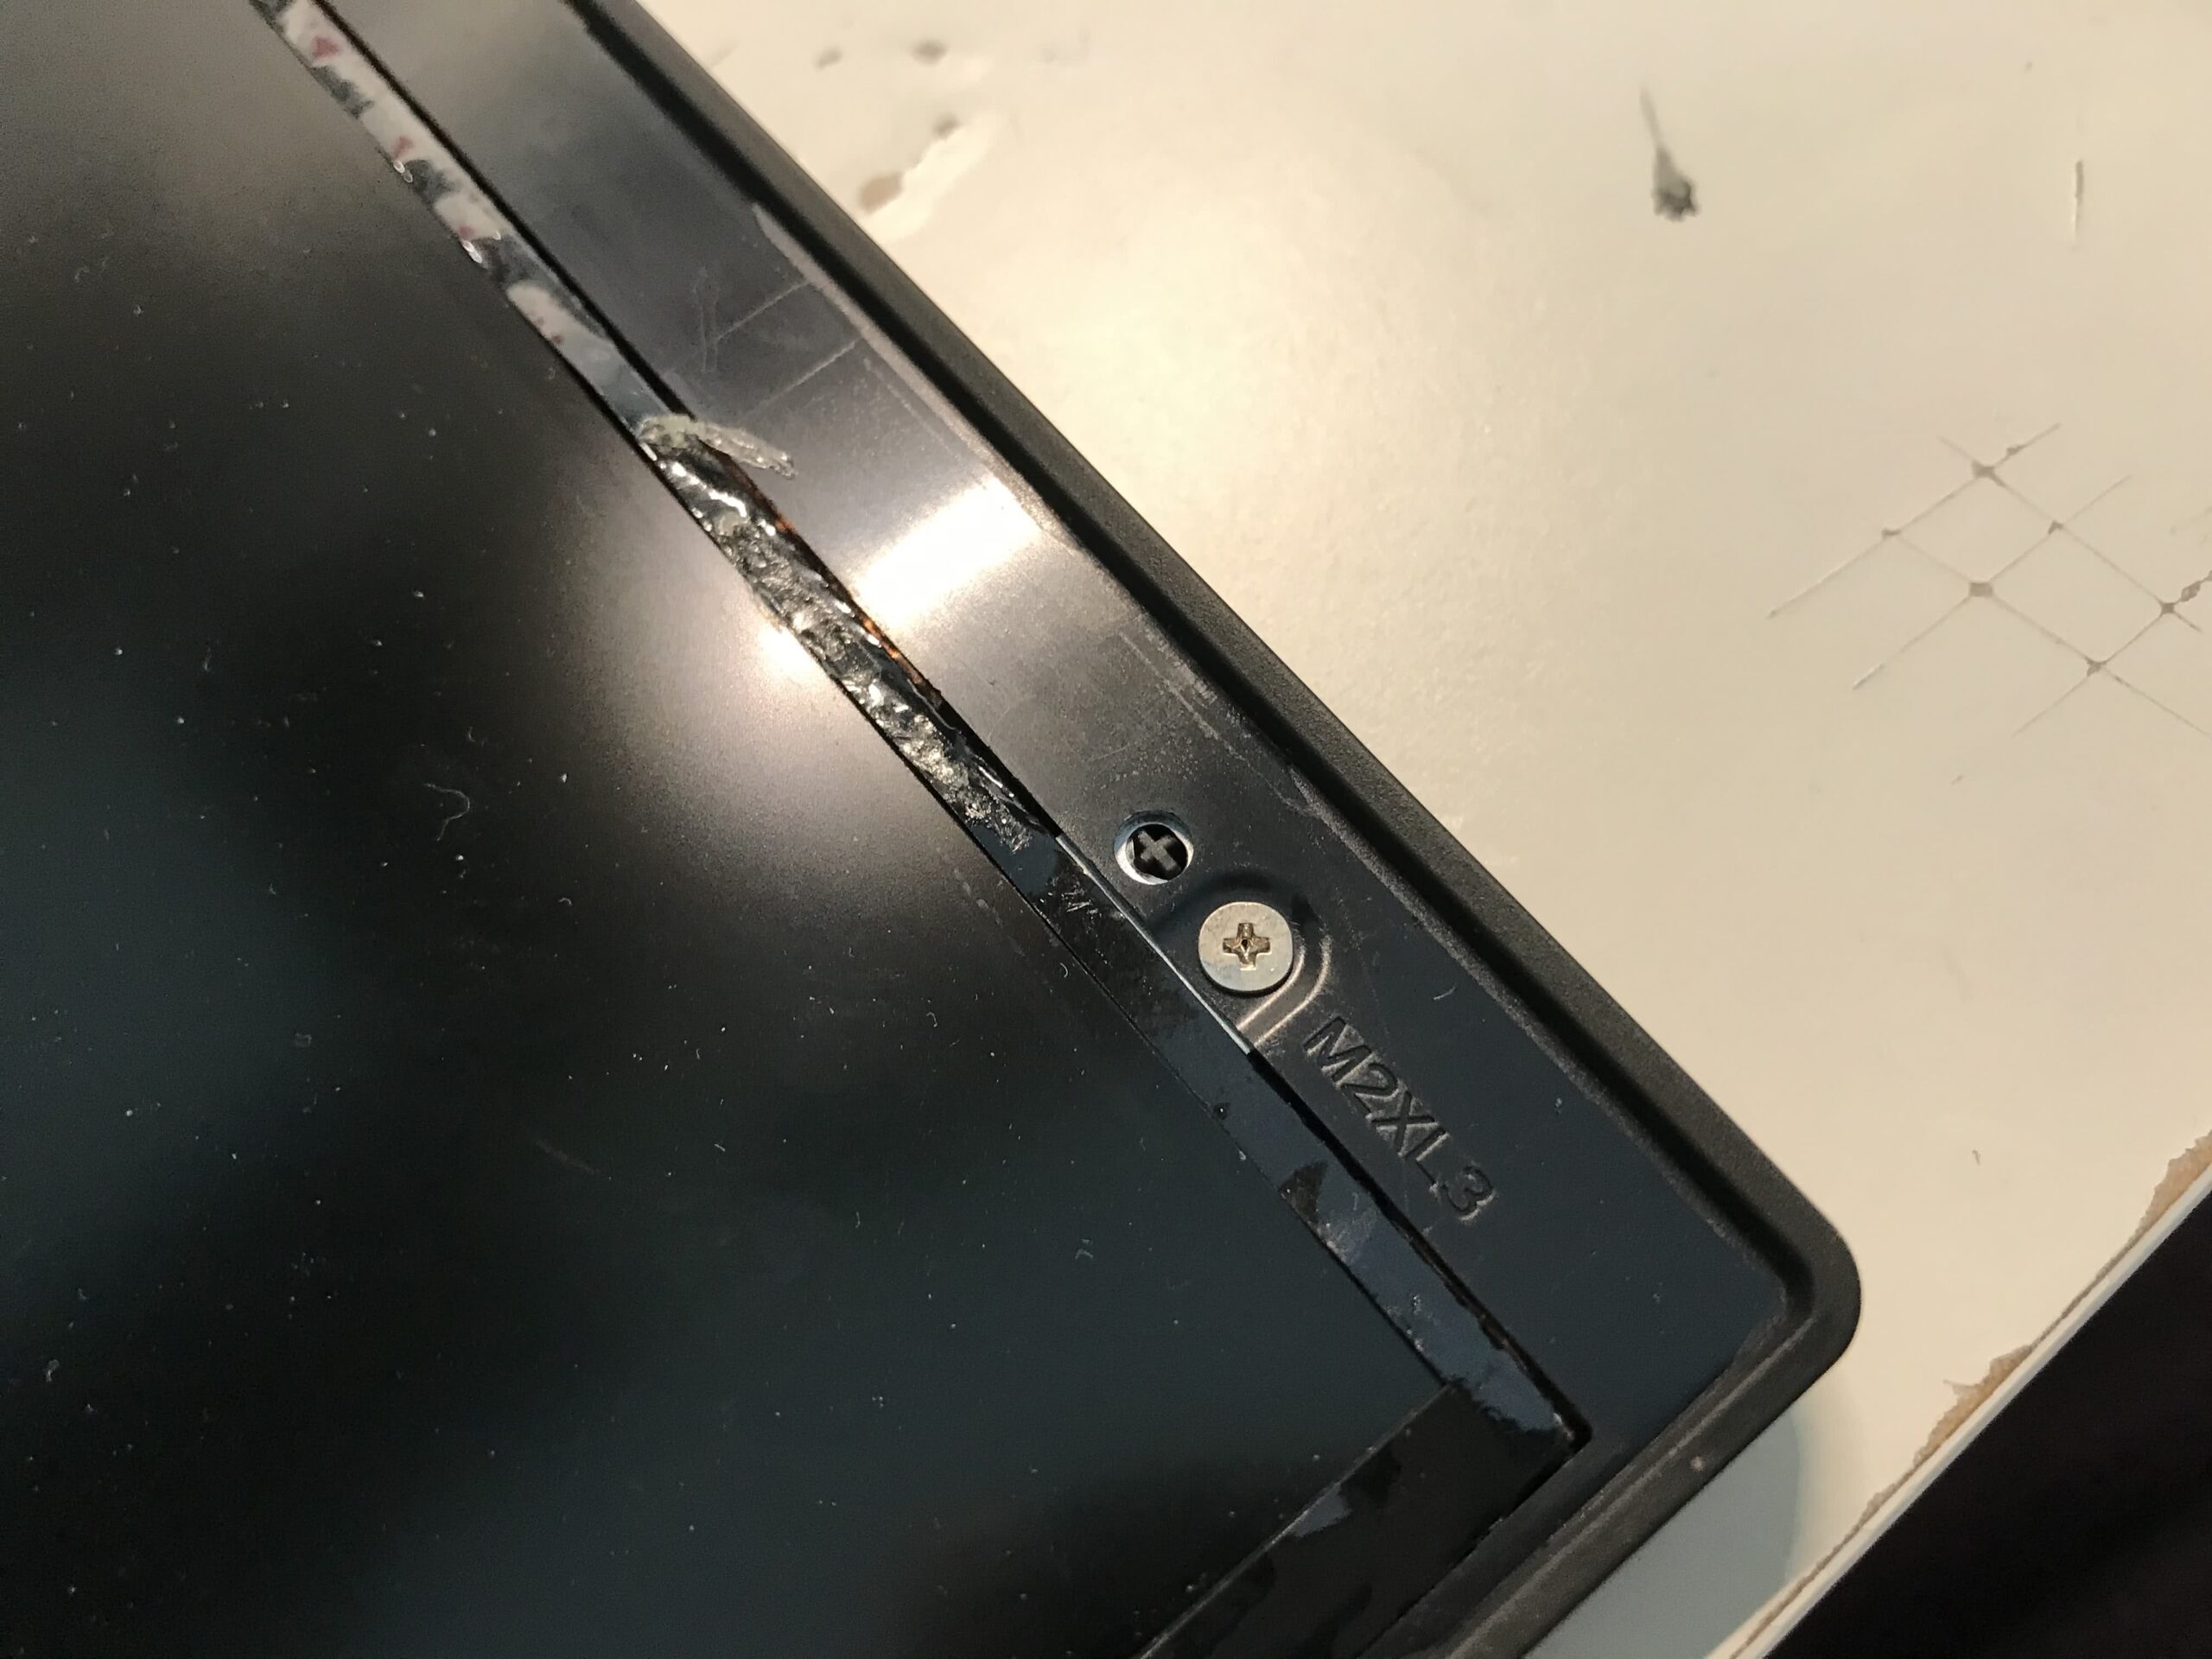
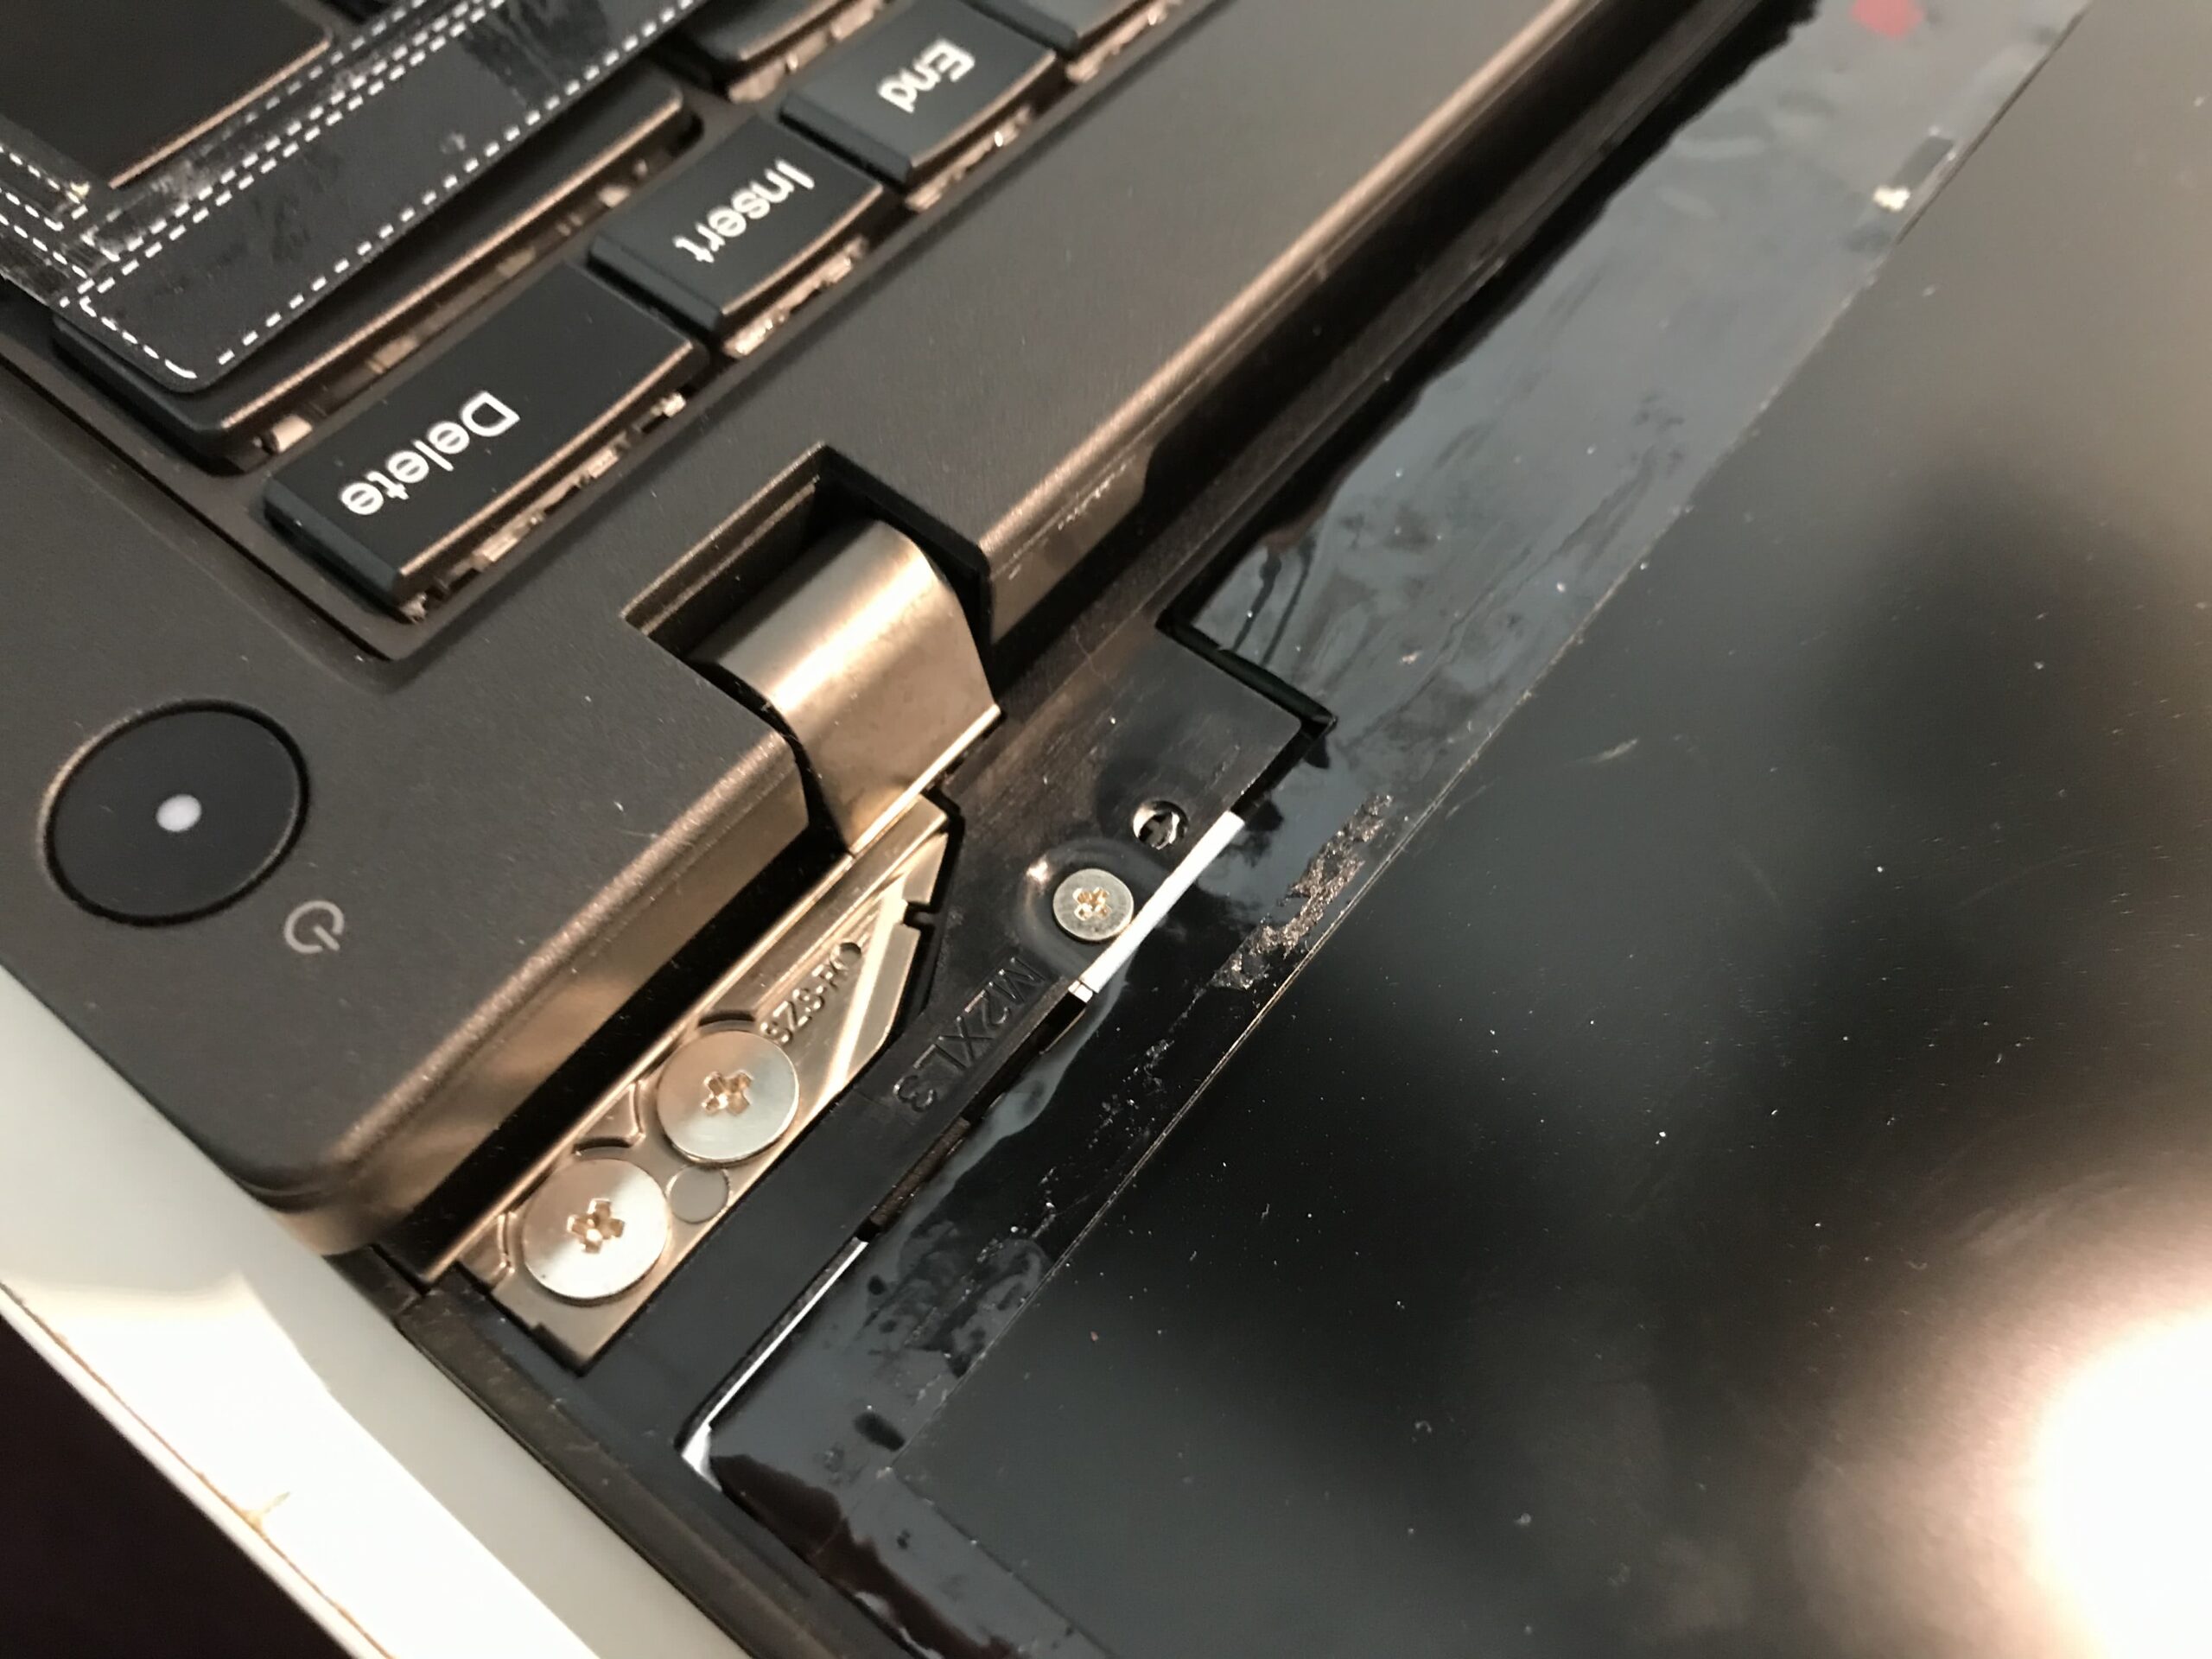
After removing the first part, the second one is shown. This one is secured by four screws and several plastic clips which spread around the entire bezel. After removing the screws a spudger can be used again to pry up the bezel. You have to be extra careful since those plastic clips can break easily.
Display replacement
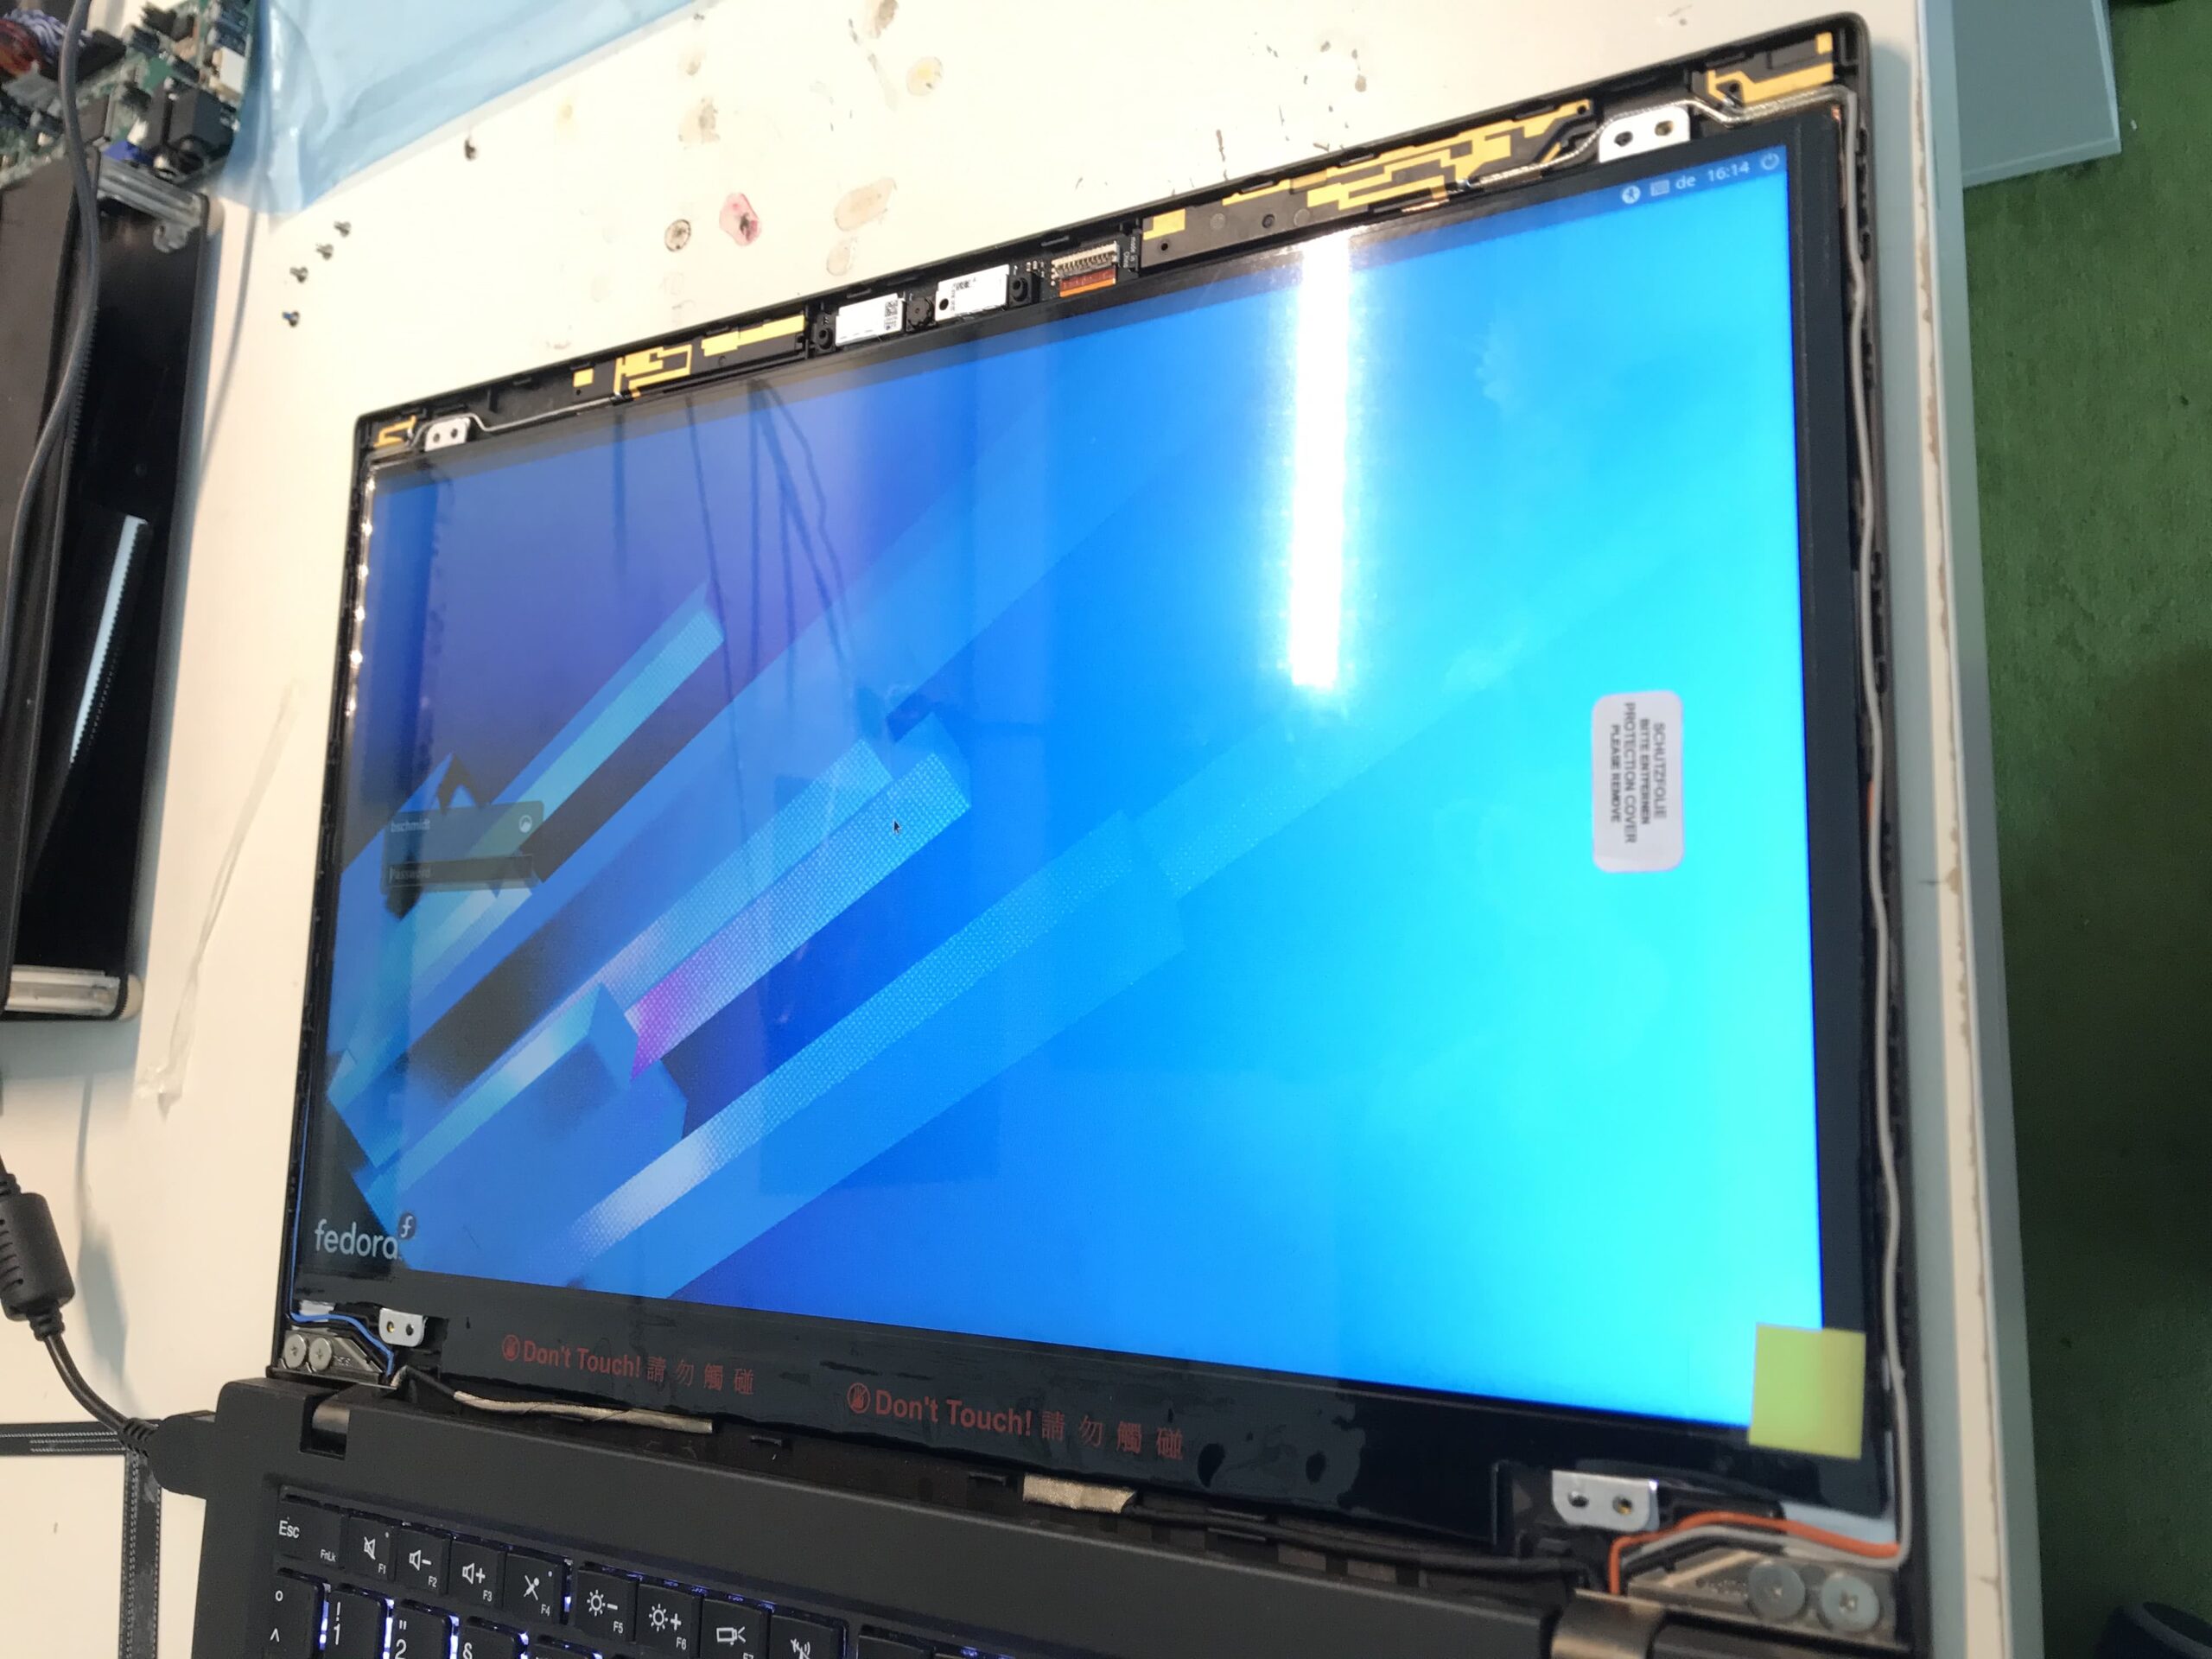
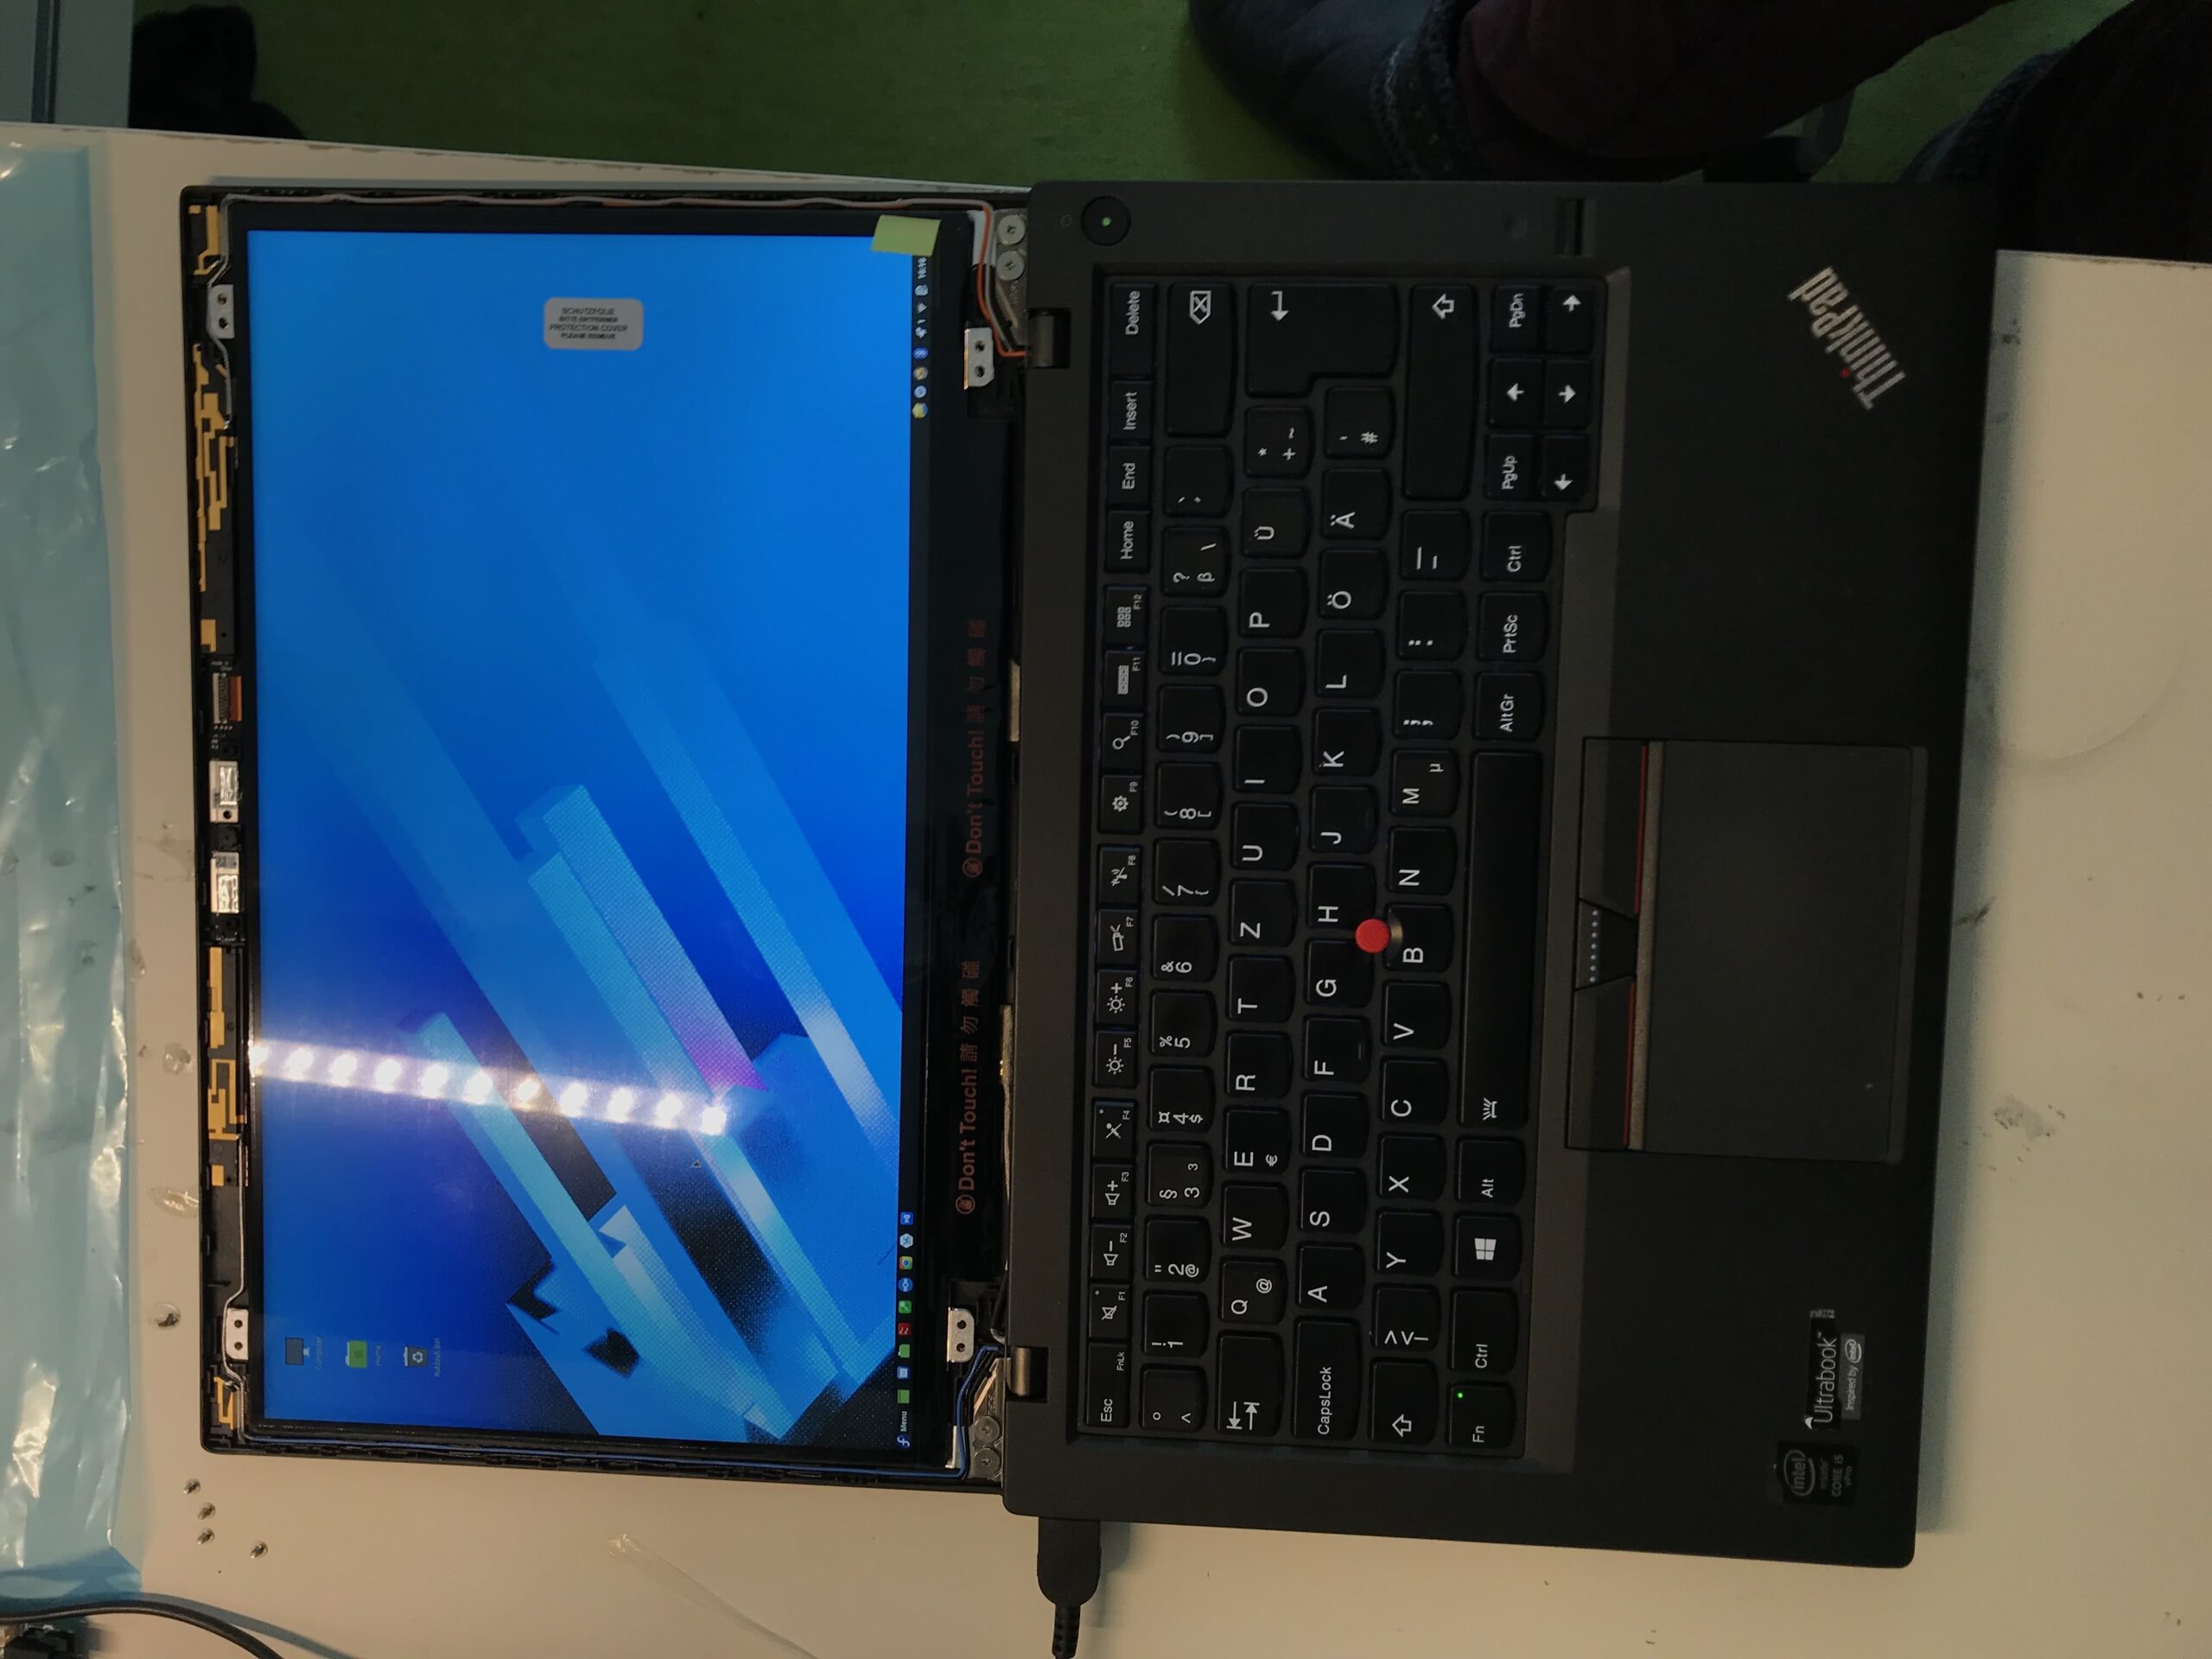
After loosening both parts of the bezel you can take out the display and place it on the keyboard. The connection between display and laptop should now be present. The last step to removing the display is loosening the connector.
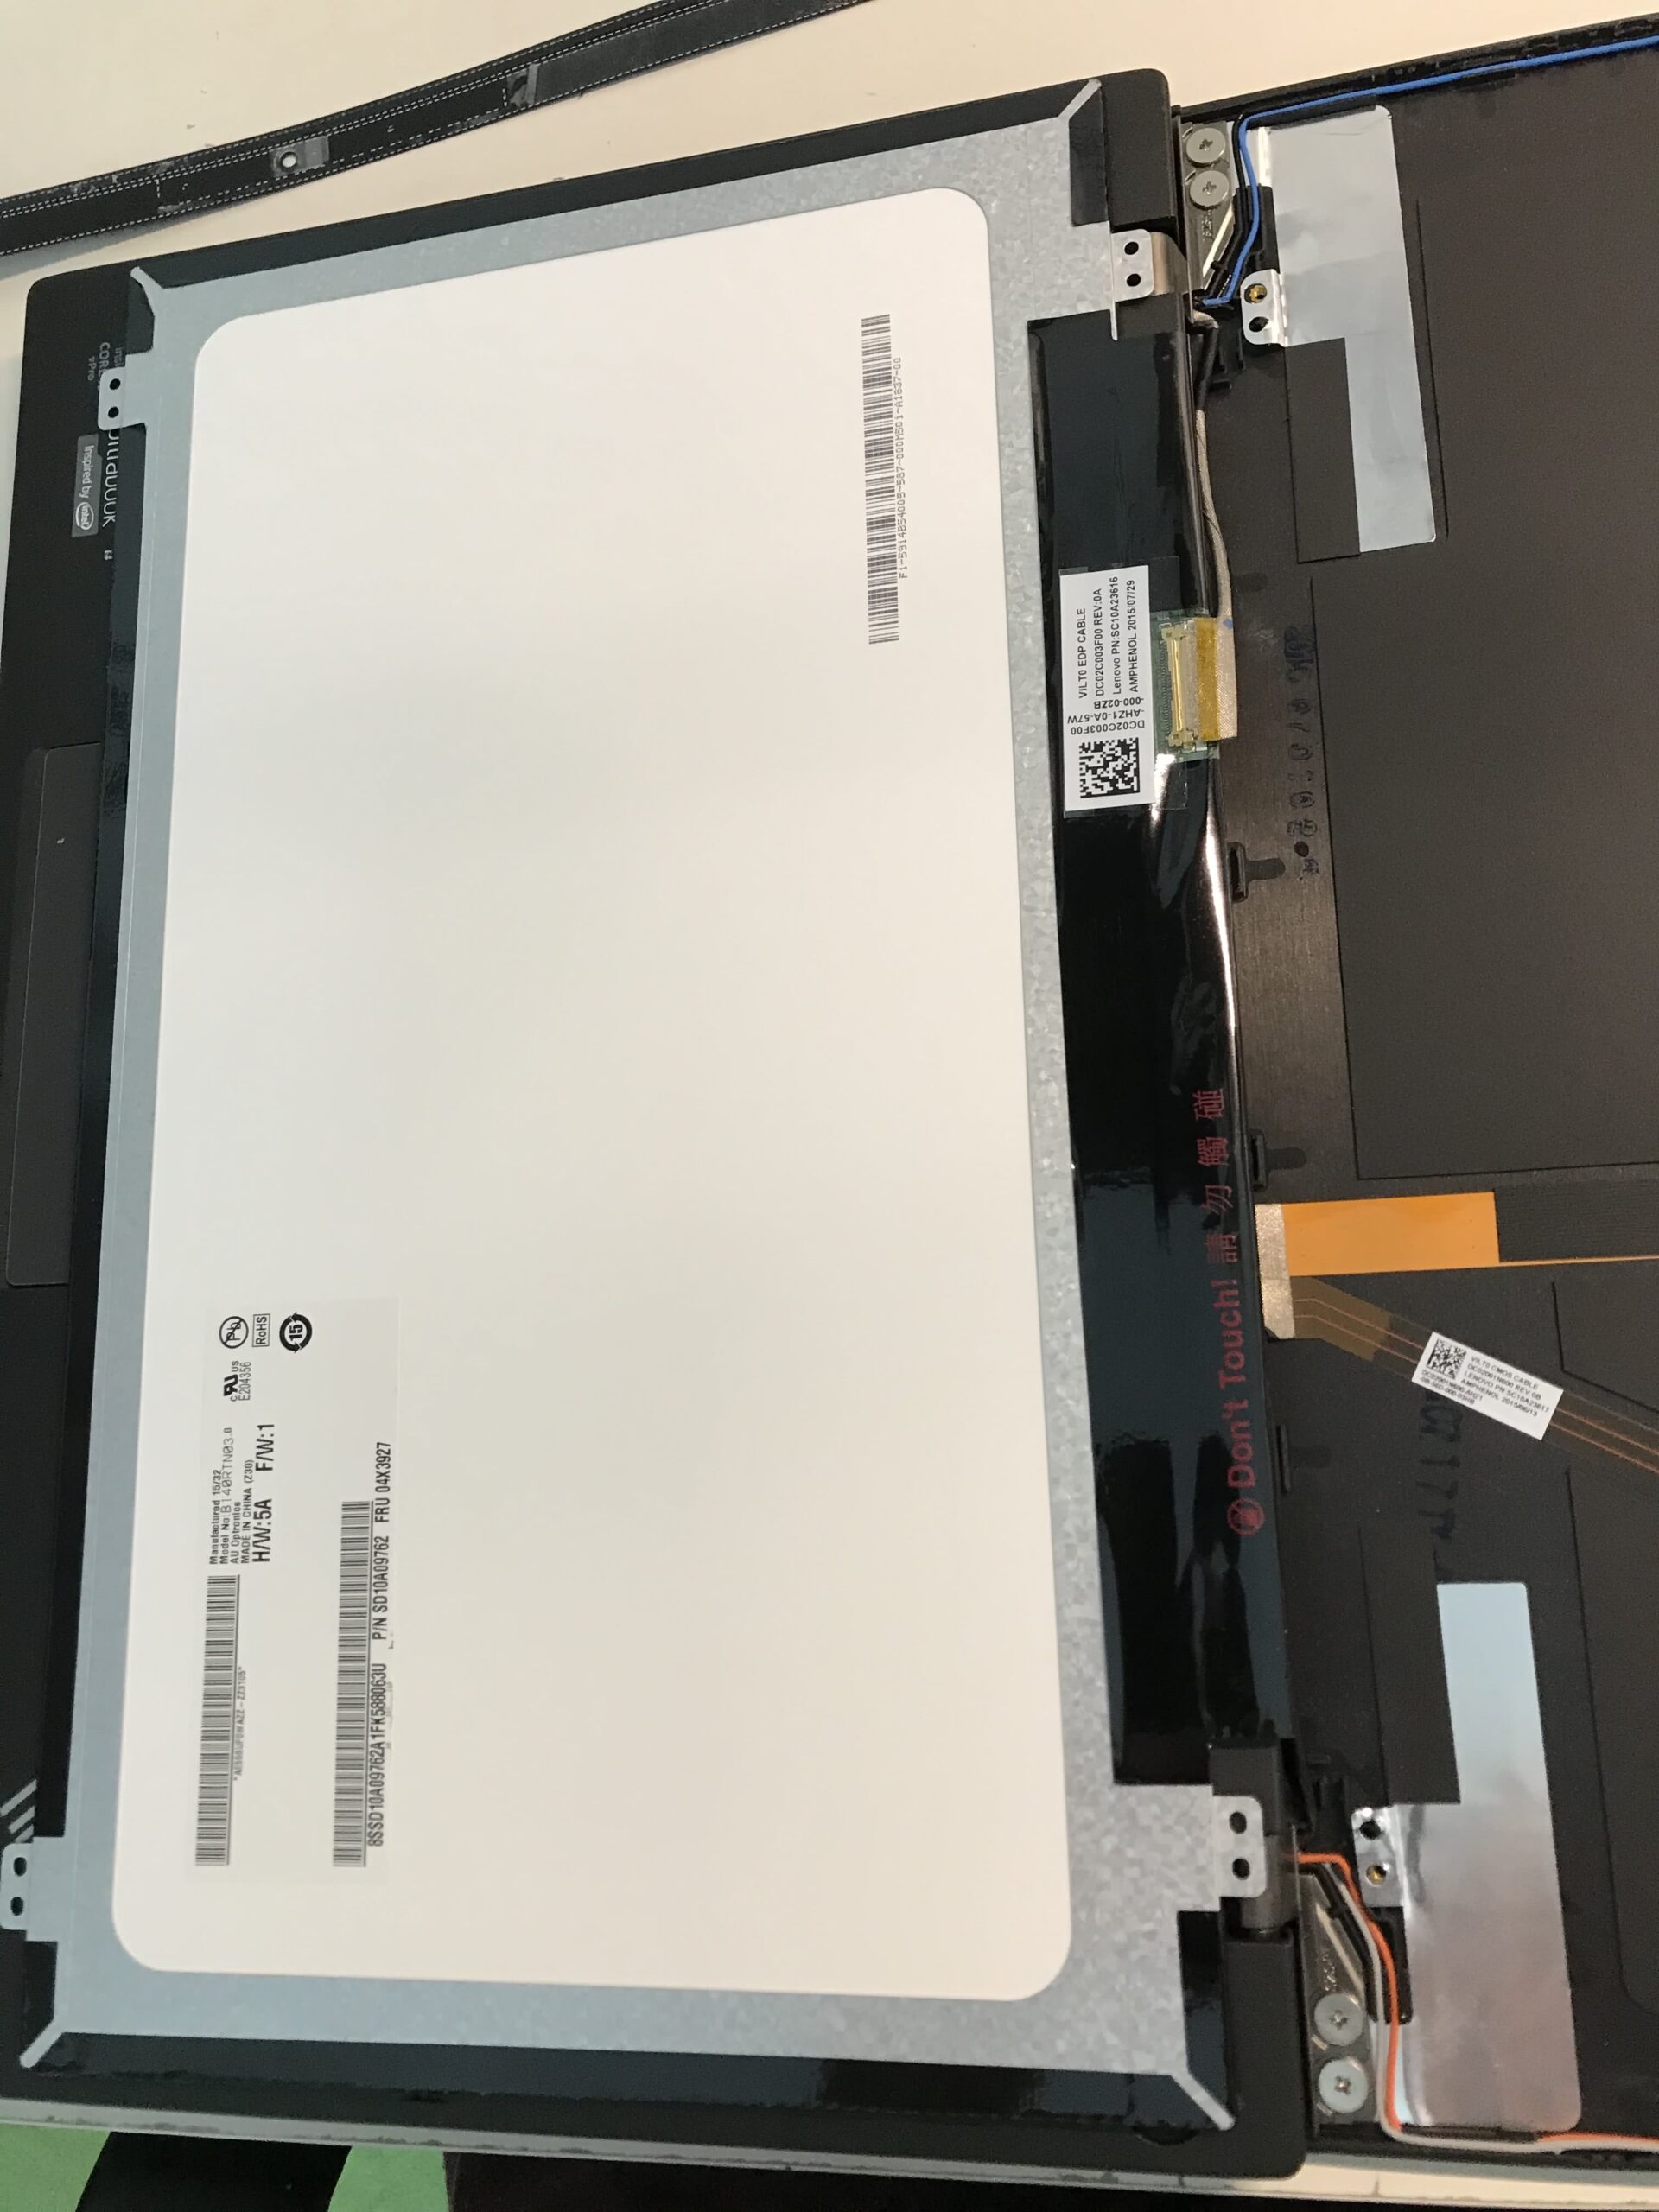
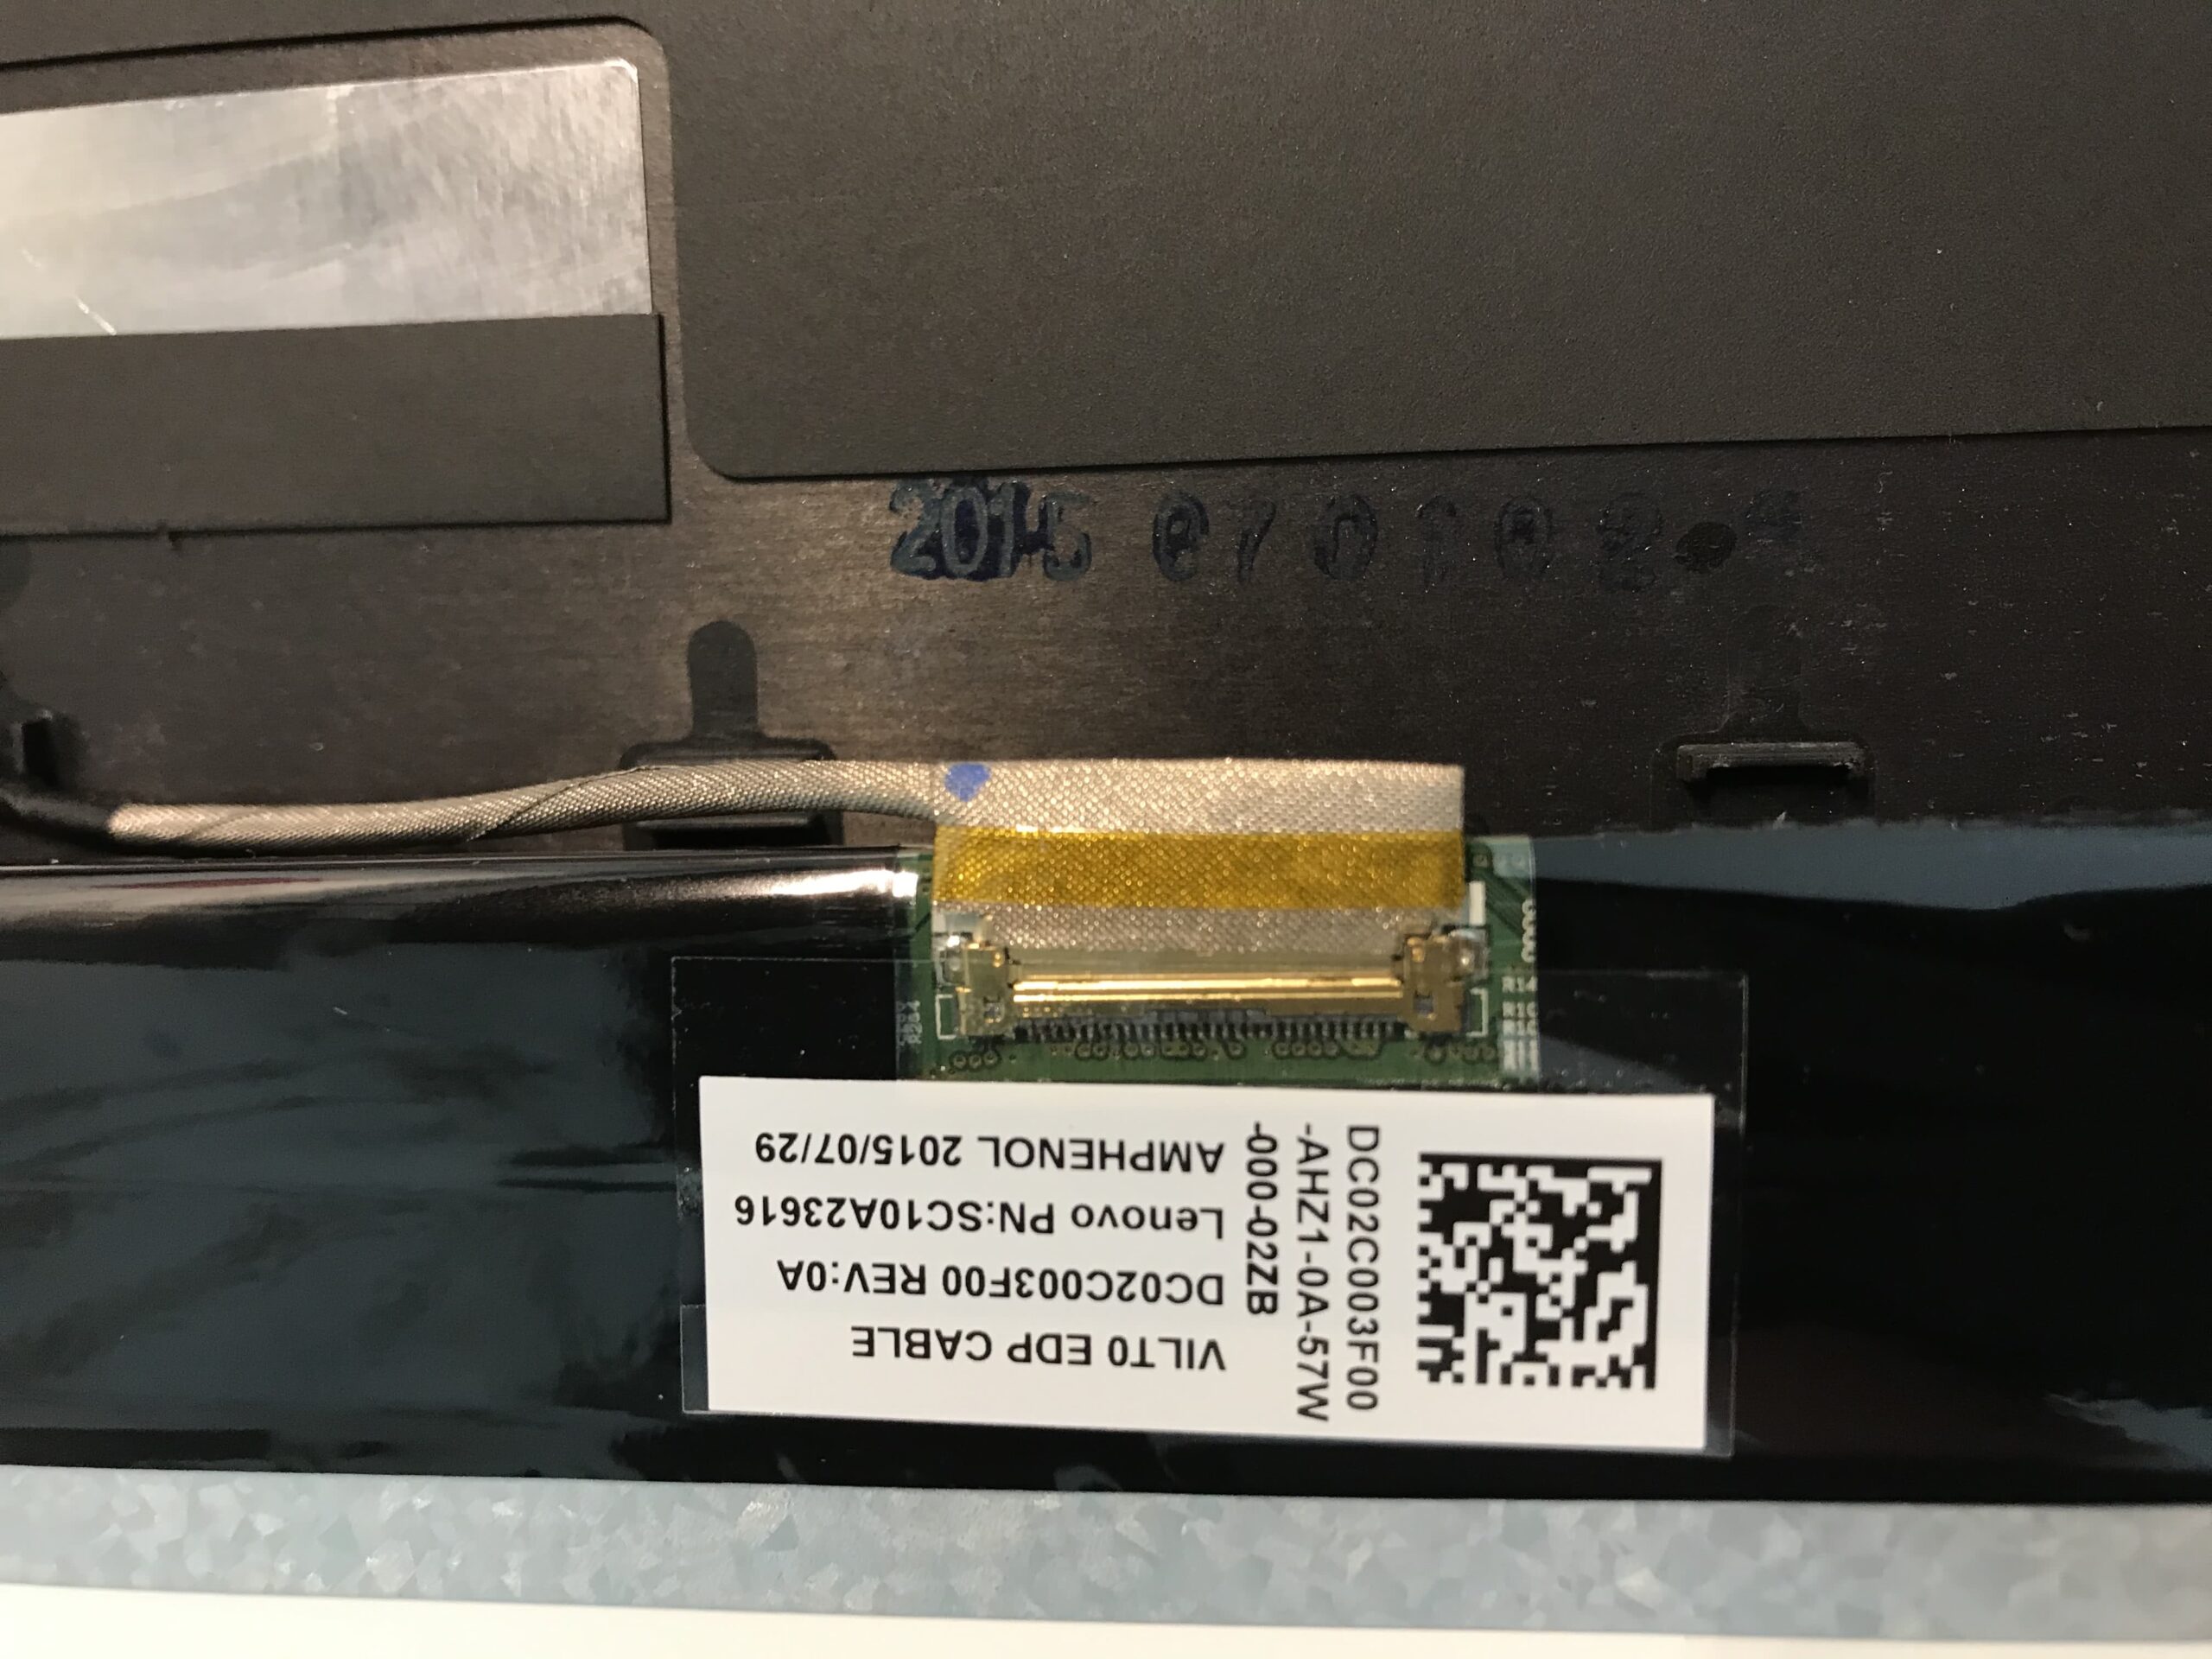
The new display can now be connected. Make sure to attach the sticker on the connector properly. It does make sure the connection is not loosened accidently.
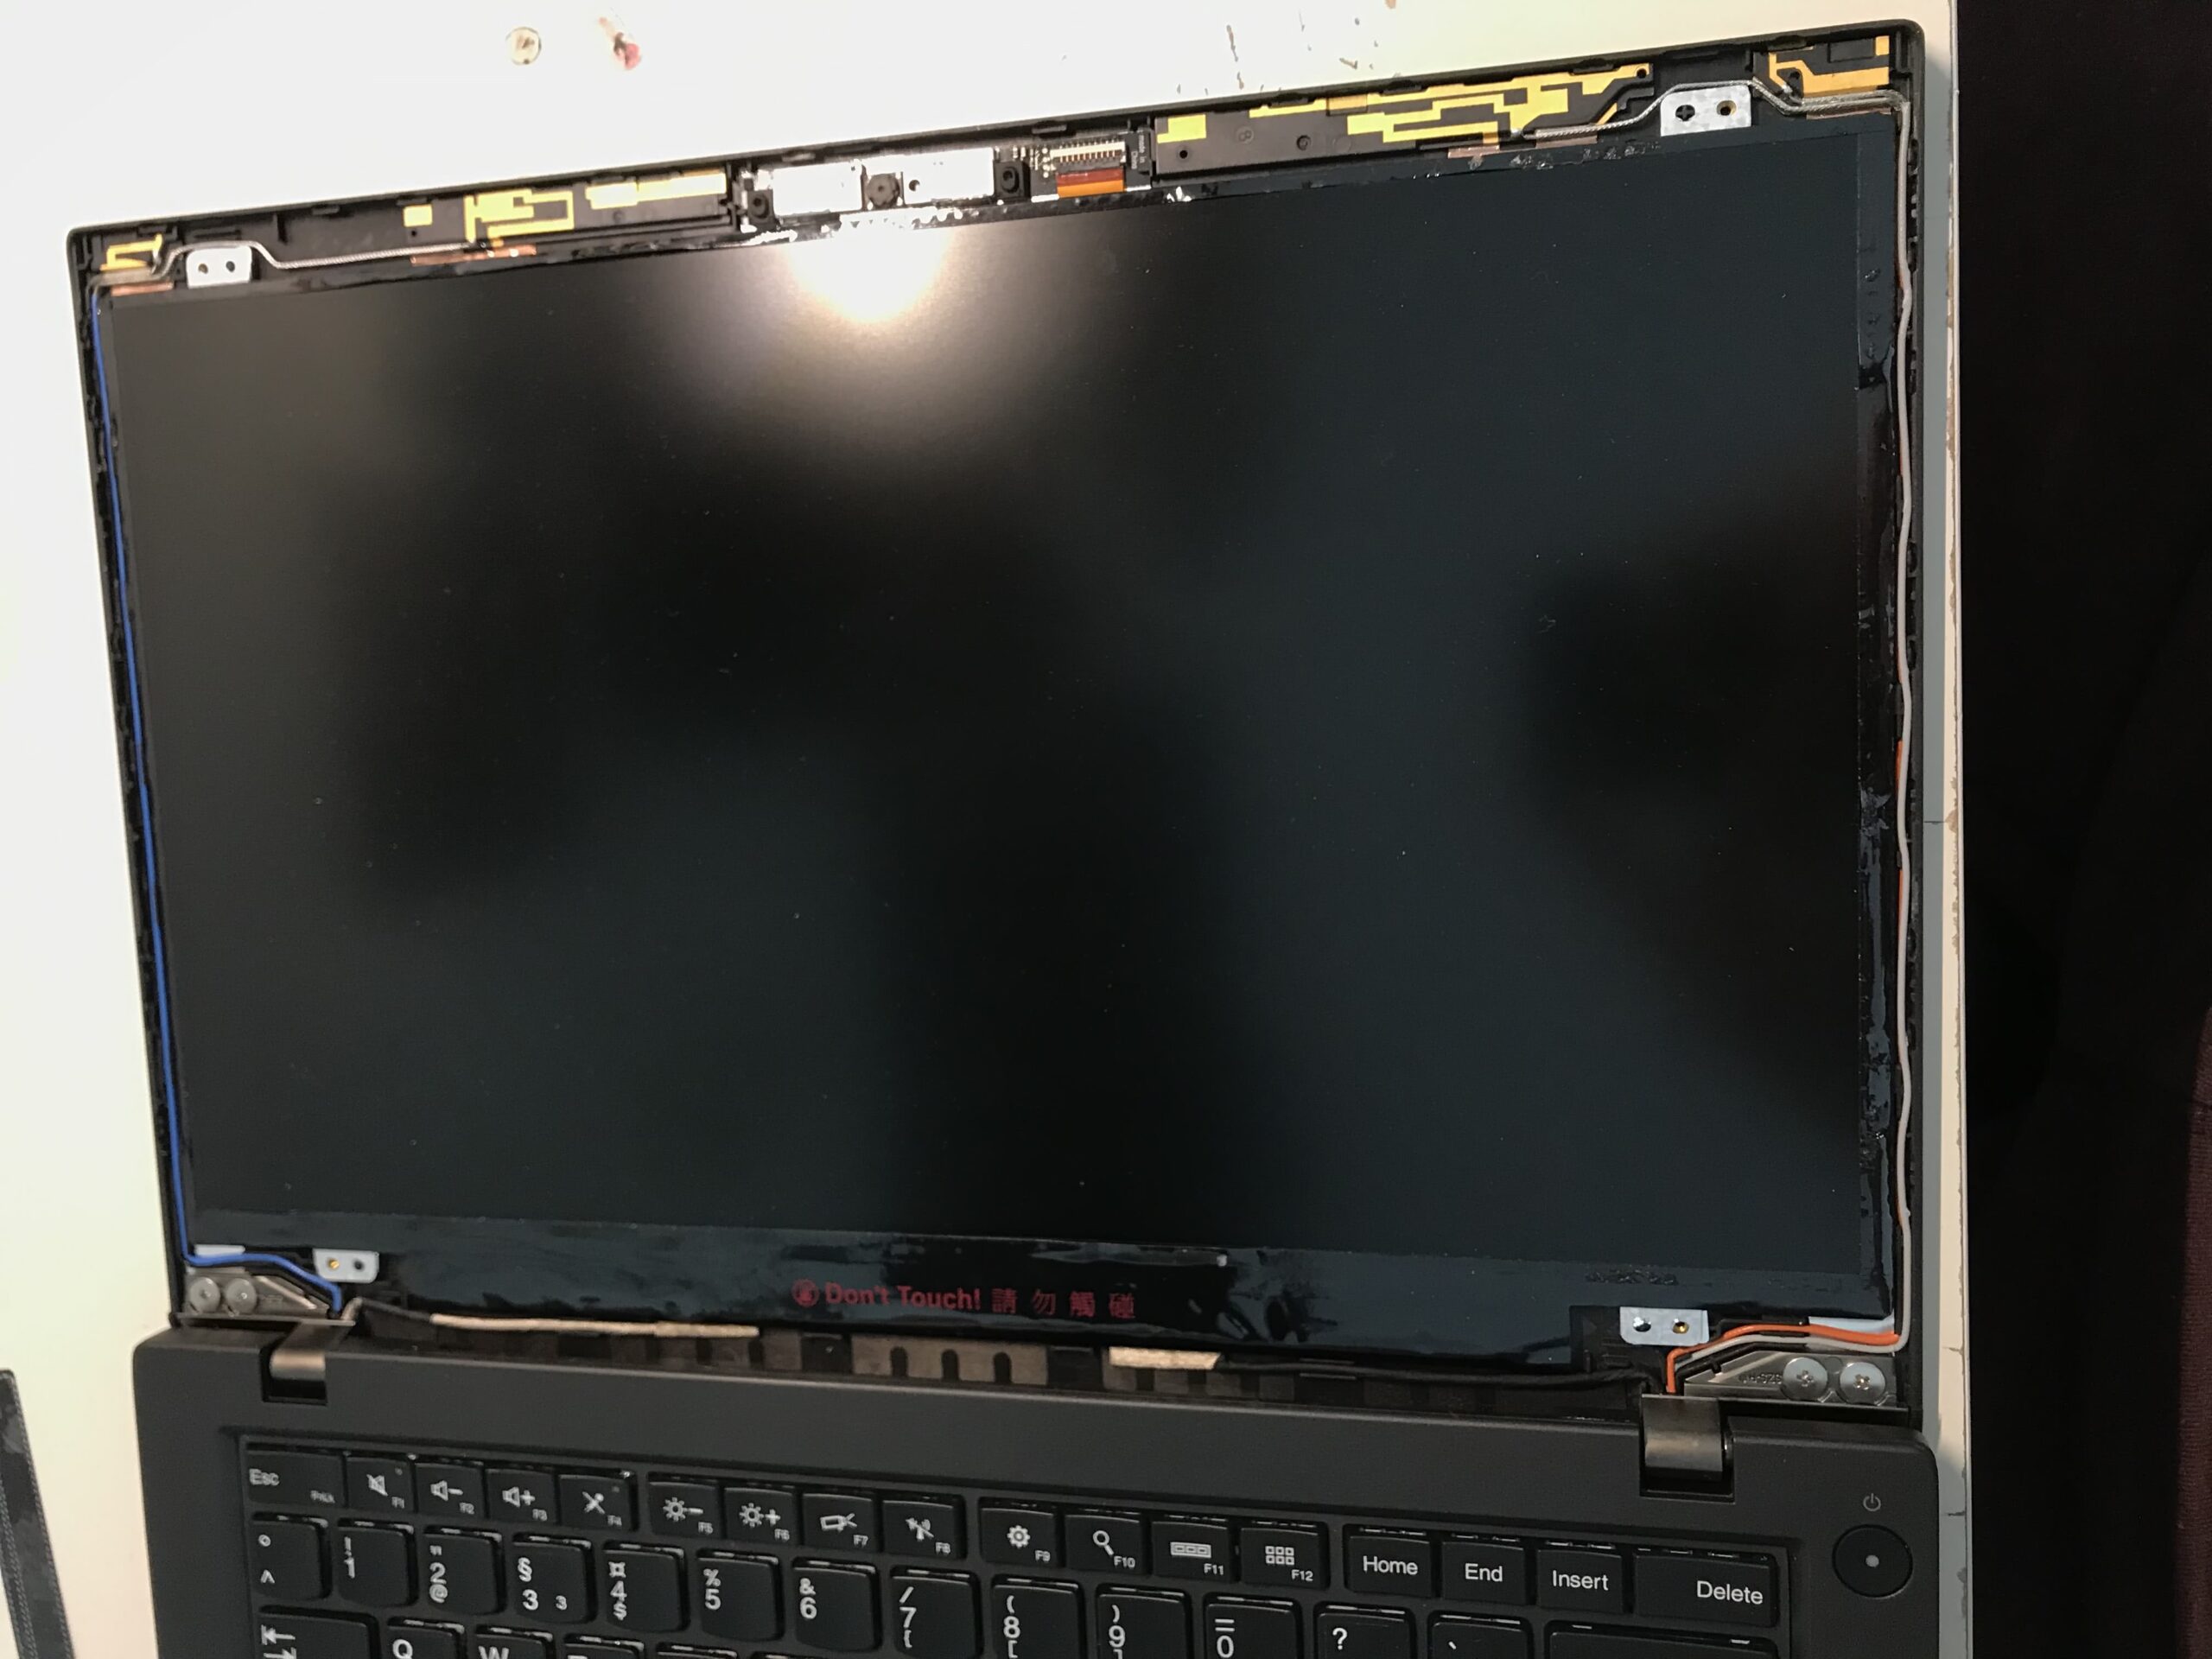
Testing
Before reapplying the bezel the functionality of the new screen should be verified. In my case there were no problems. The screen worked right away.
Finish
To complete the replacement the previous steps have to be done again in reverse order.
If you should face any problems during the replacement I am happy to help in the comment section.